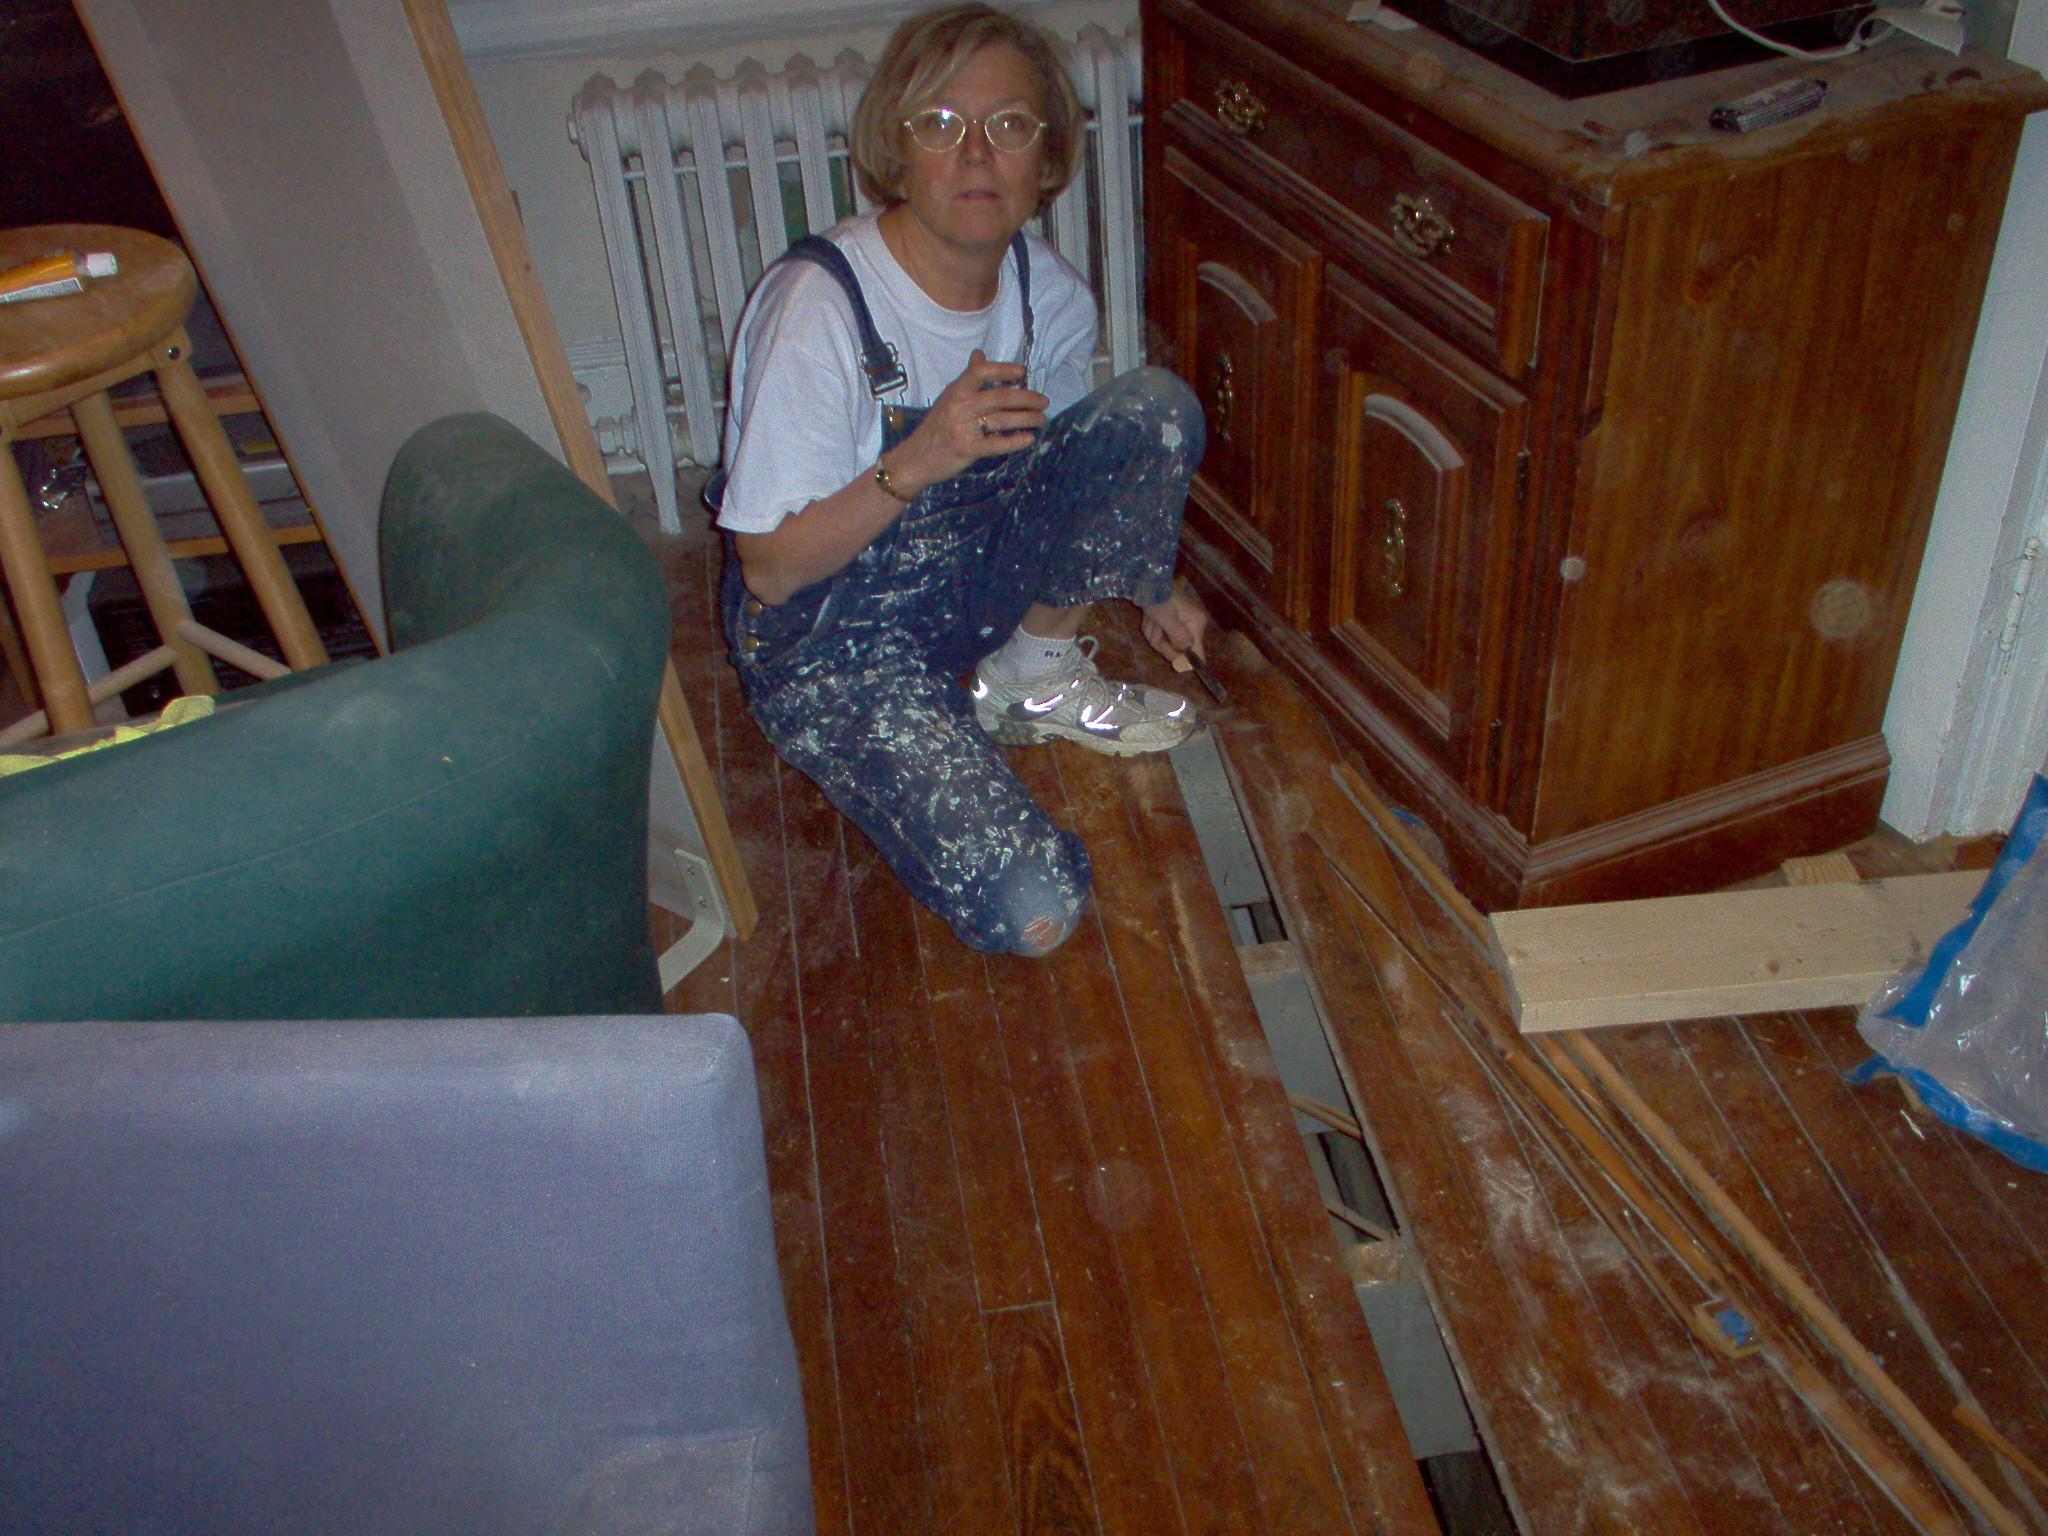
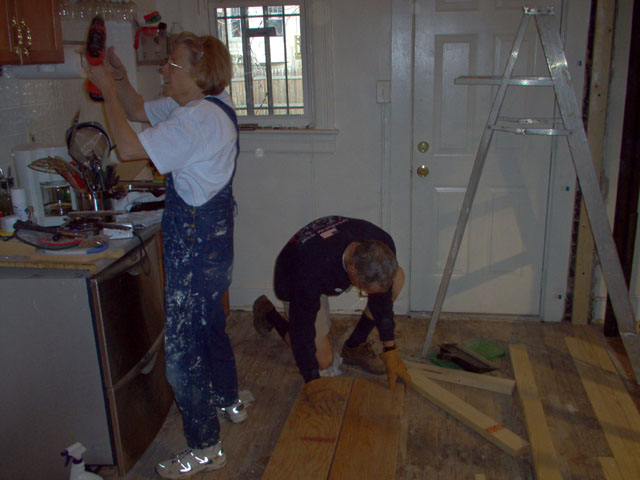
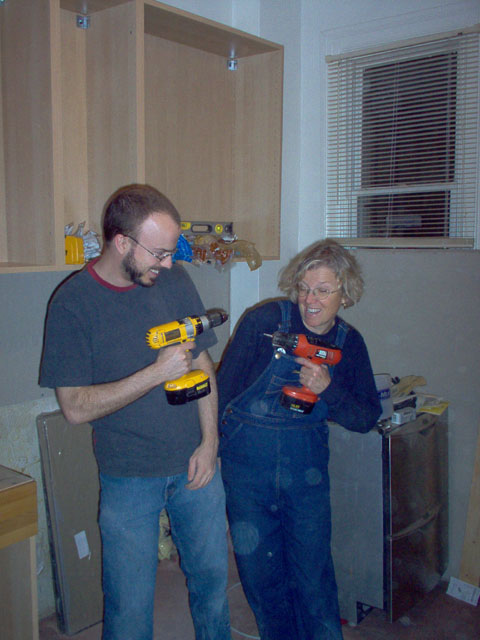
| Mom and dad working on dis-assembling the old kitchen |
 |
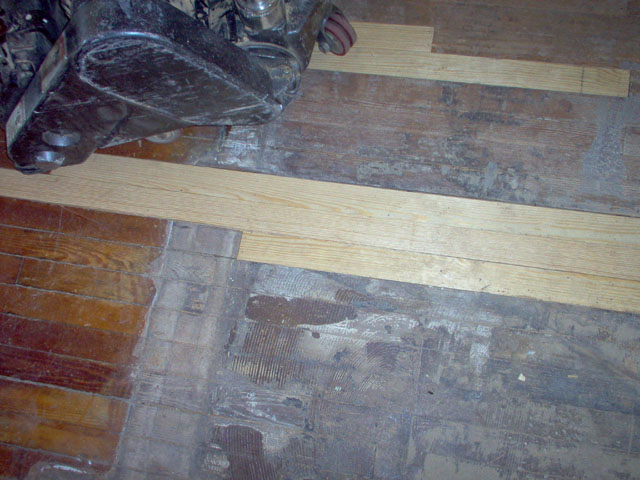
| This shows the difference between the new floor boards we installed, the old unfinished boards under the vinyl floor we removed, and the previously finished boards. |
 |
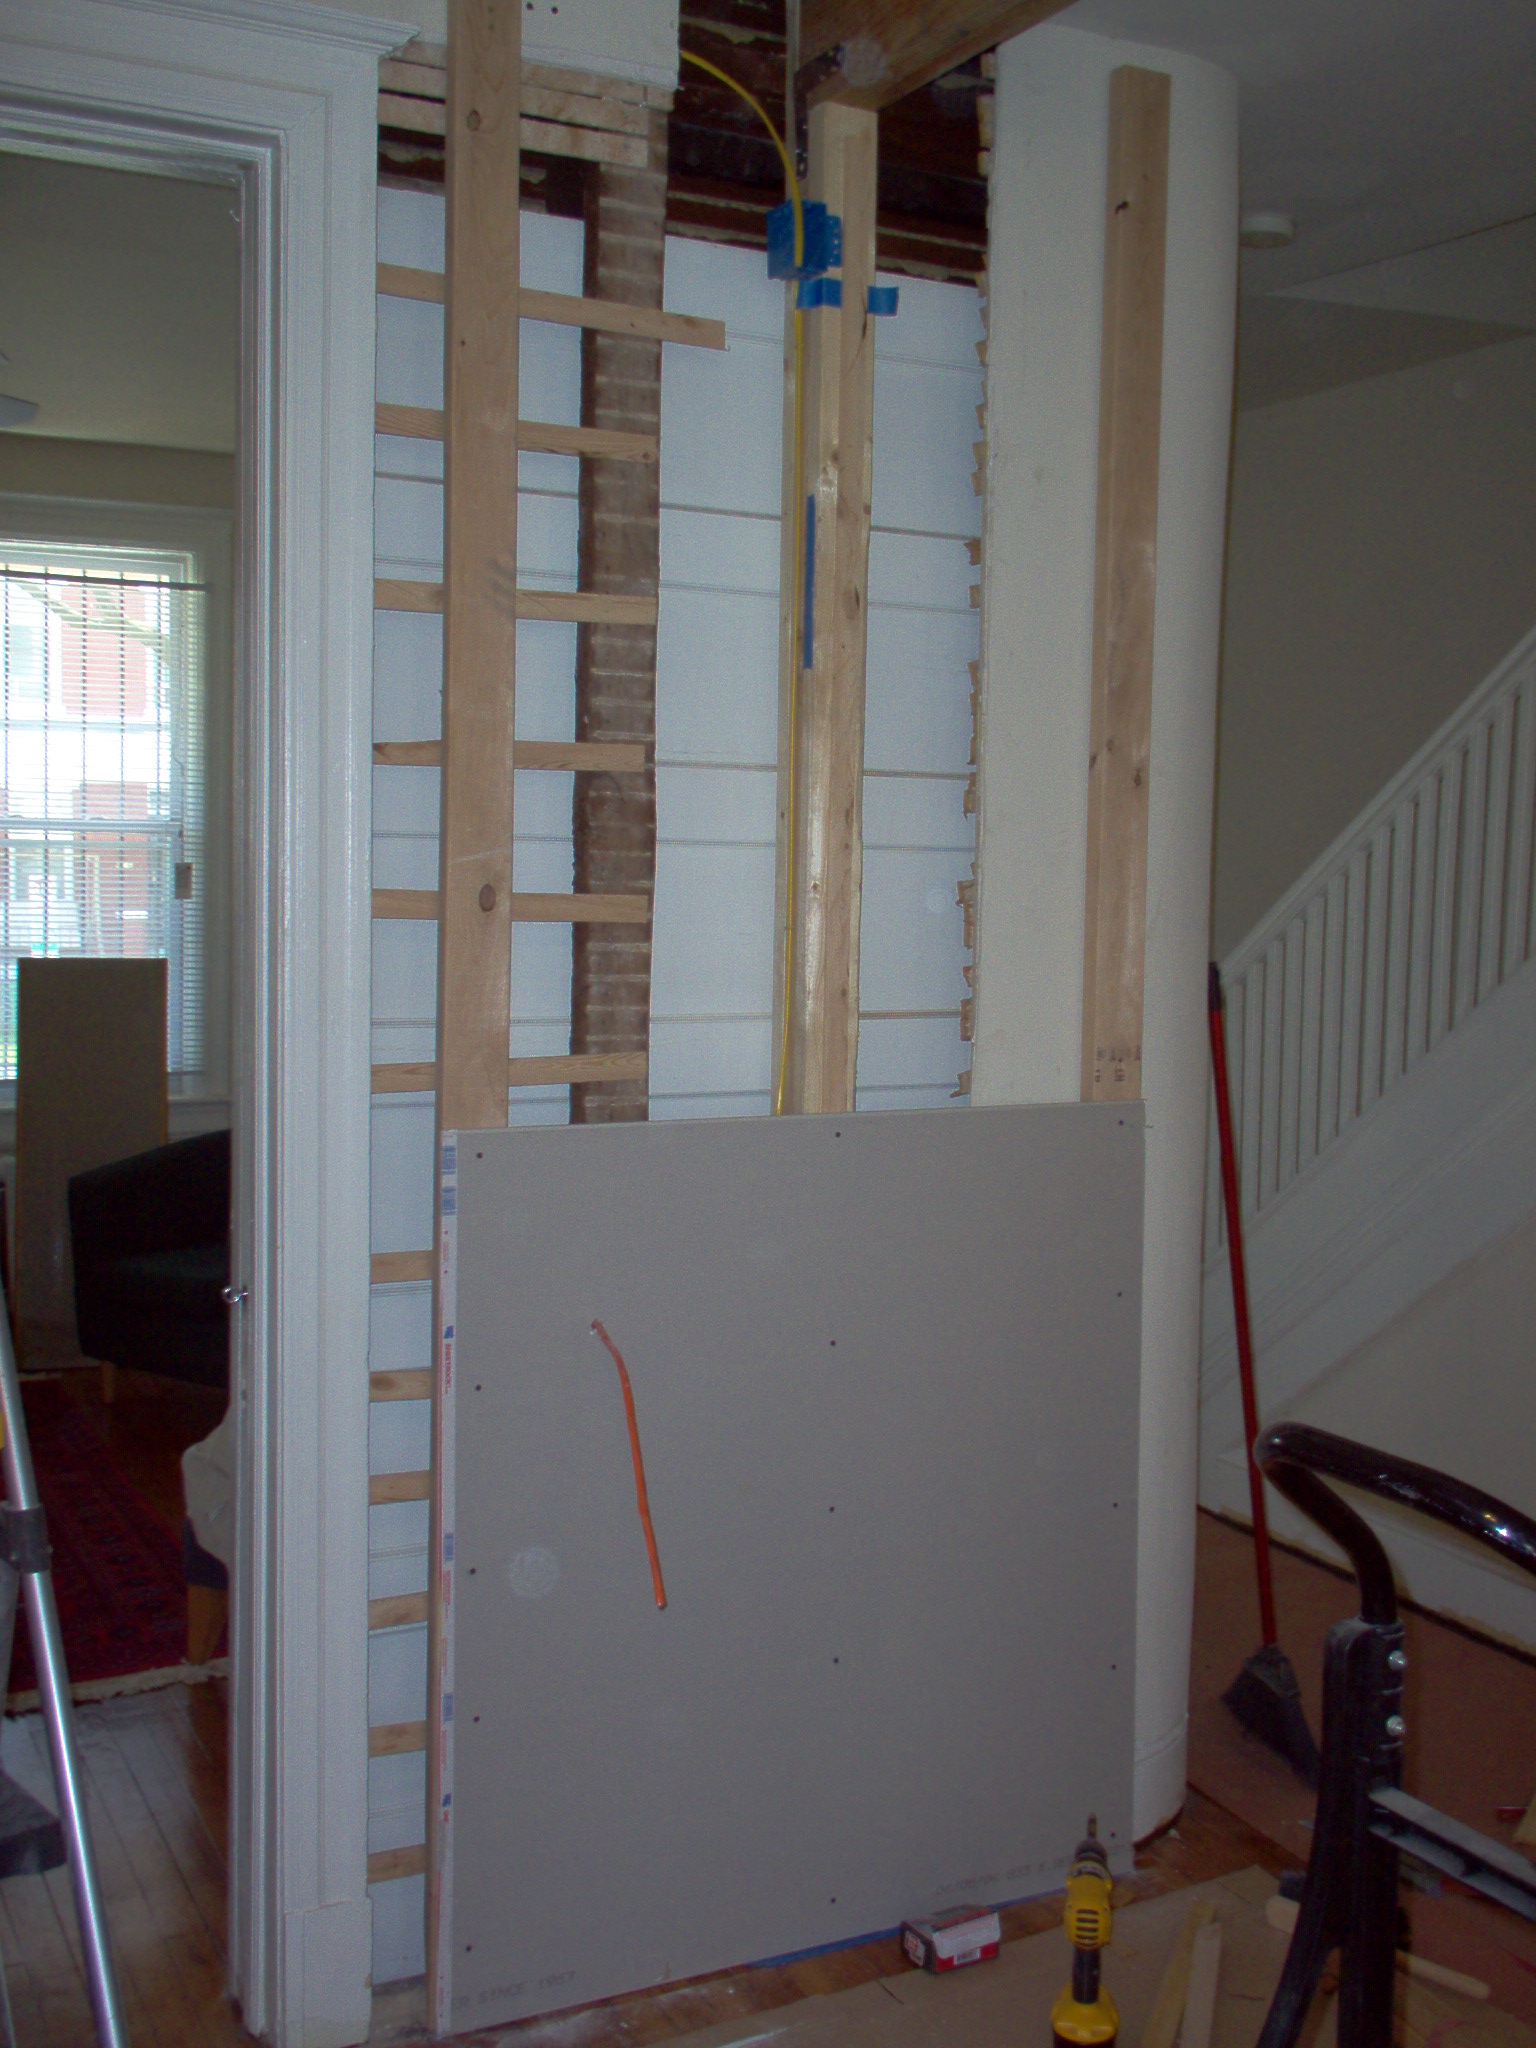
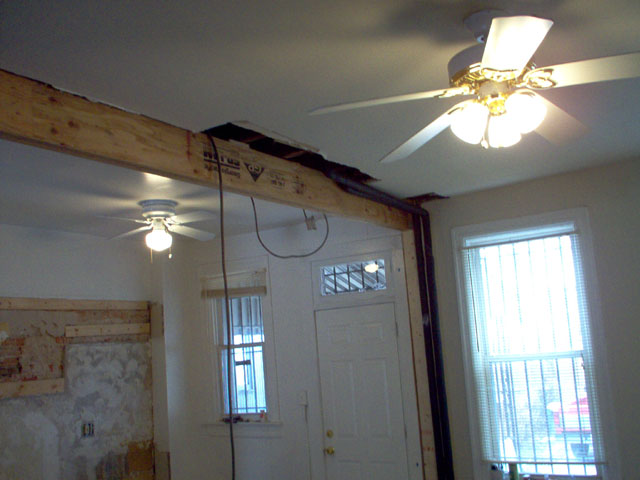
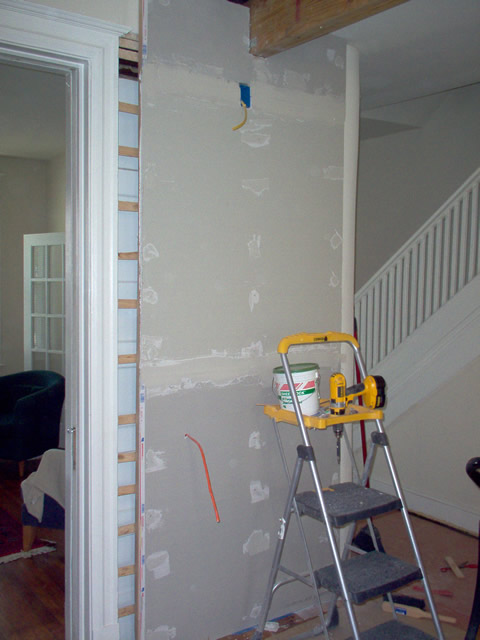
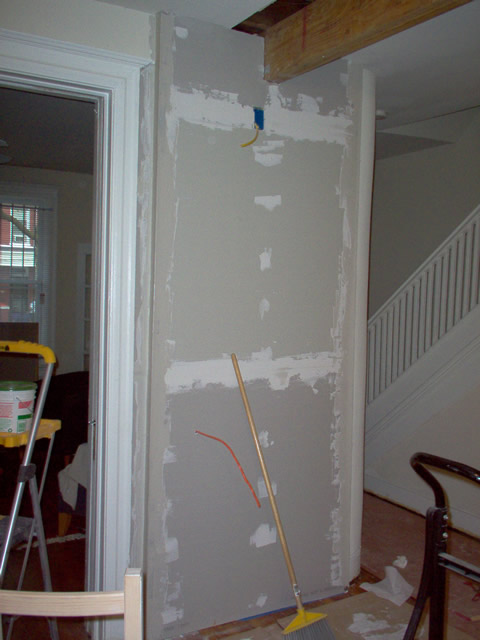
| This is the header we installed. Fabricated out of 2 1.75x9.25 GPLam LVL boards bolted together Simpson Strong-Tie SDS screws. This supports the load the old wall previously held. |
 |
| Mom cleans up the wood around where we removed a damaged floor board before we replace it. |
 |
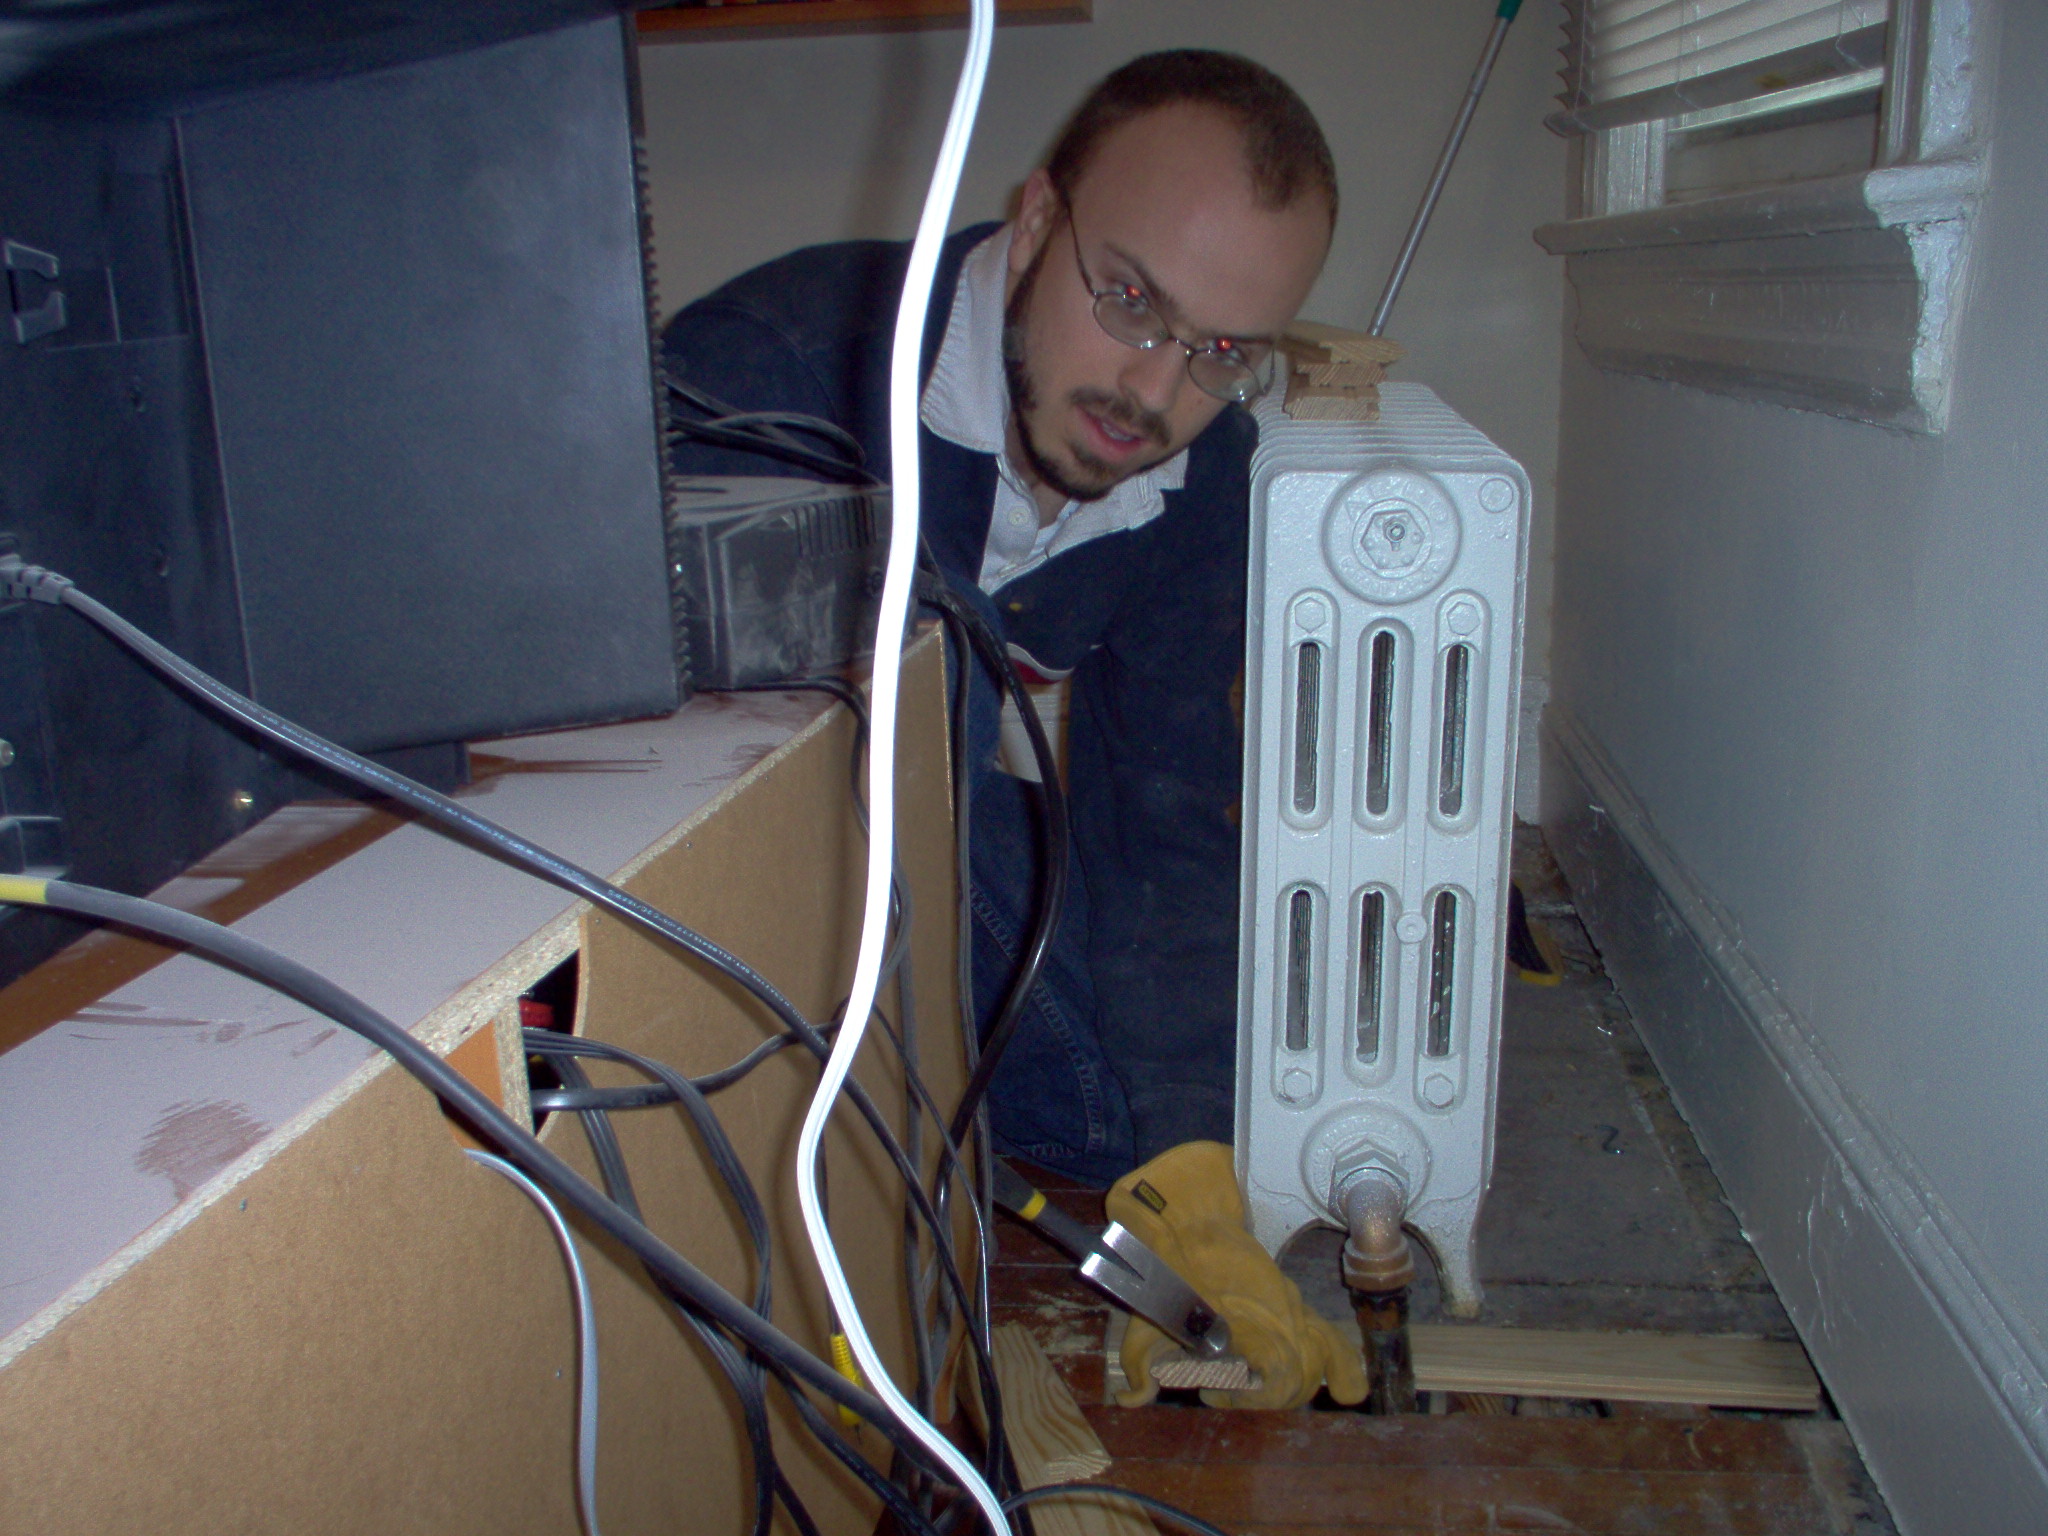
| I'm replacing damaged boards around where a new radiator was installed. |
 |
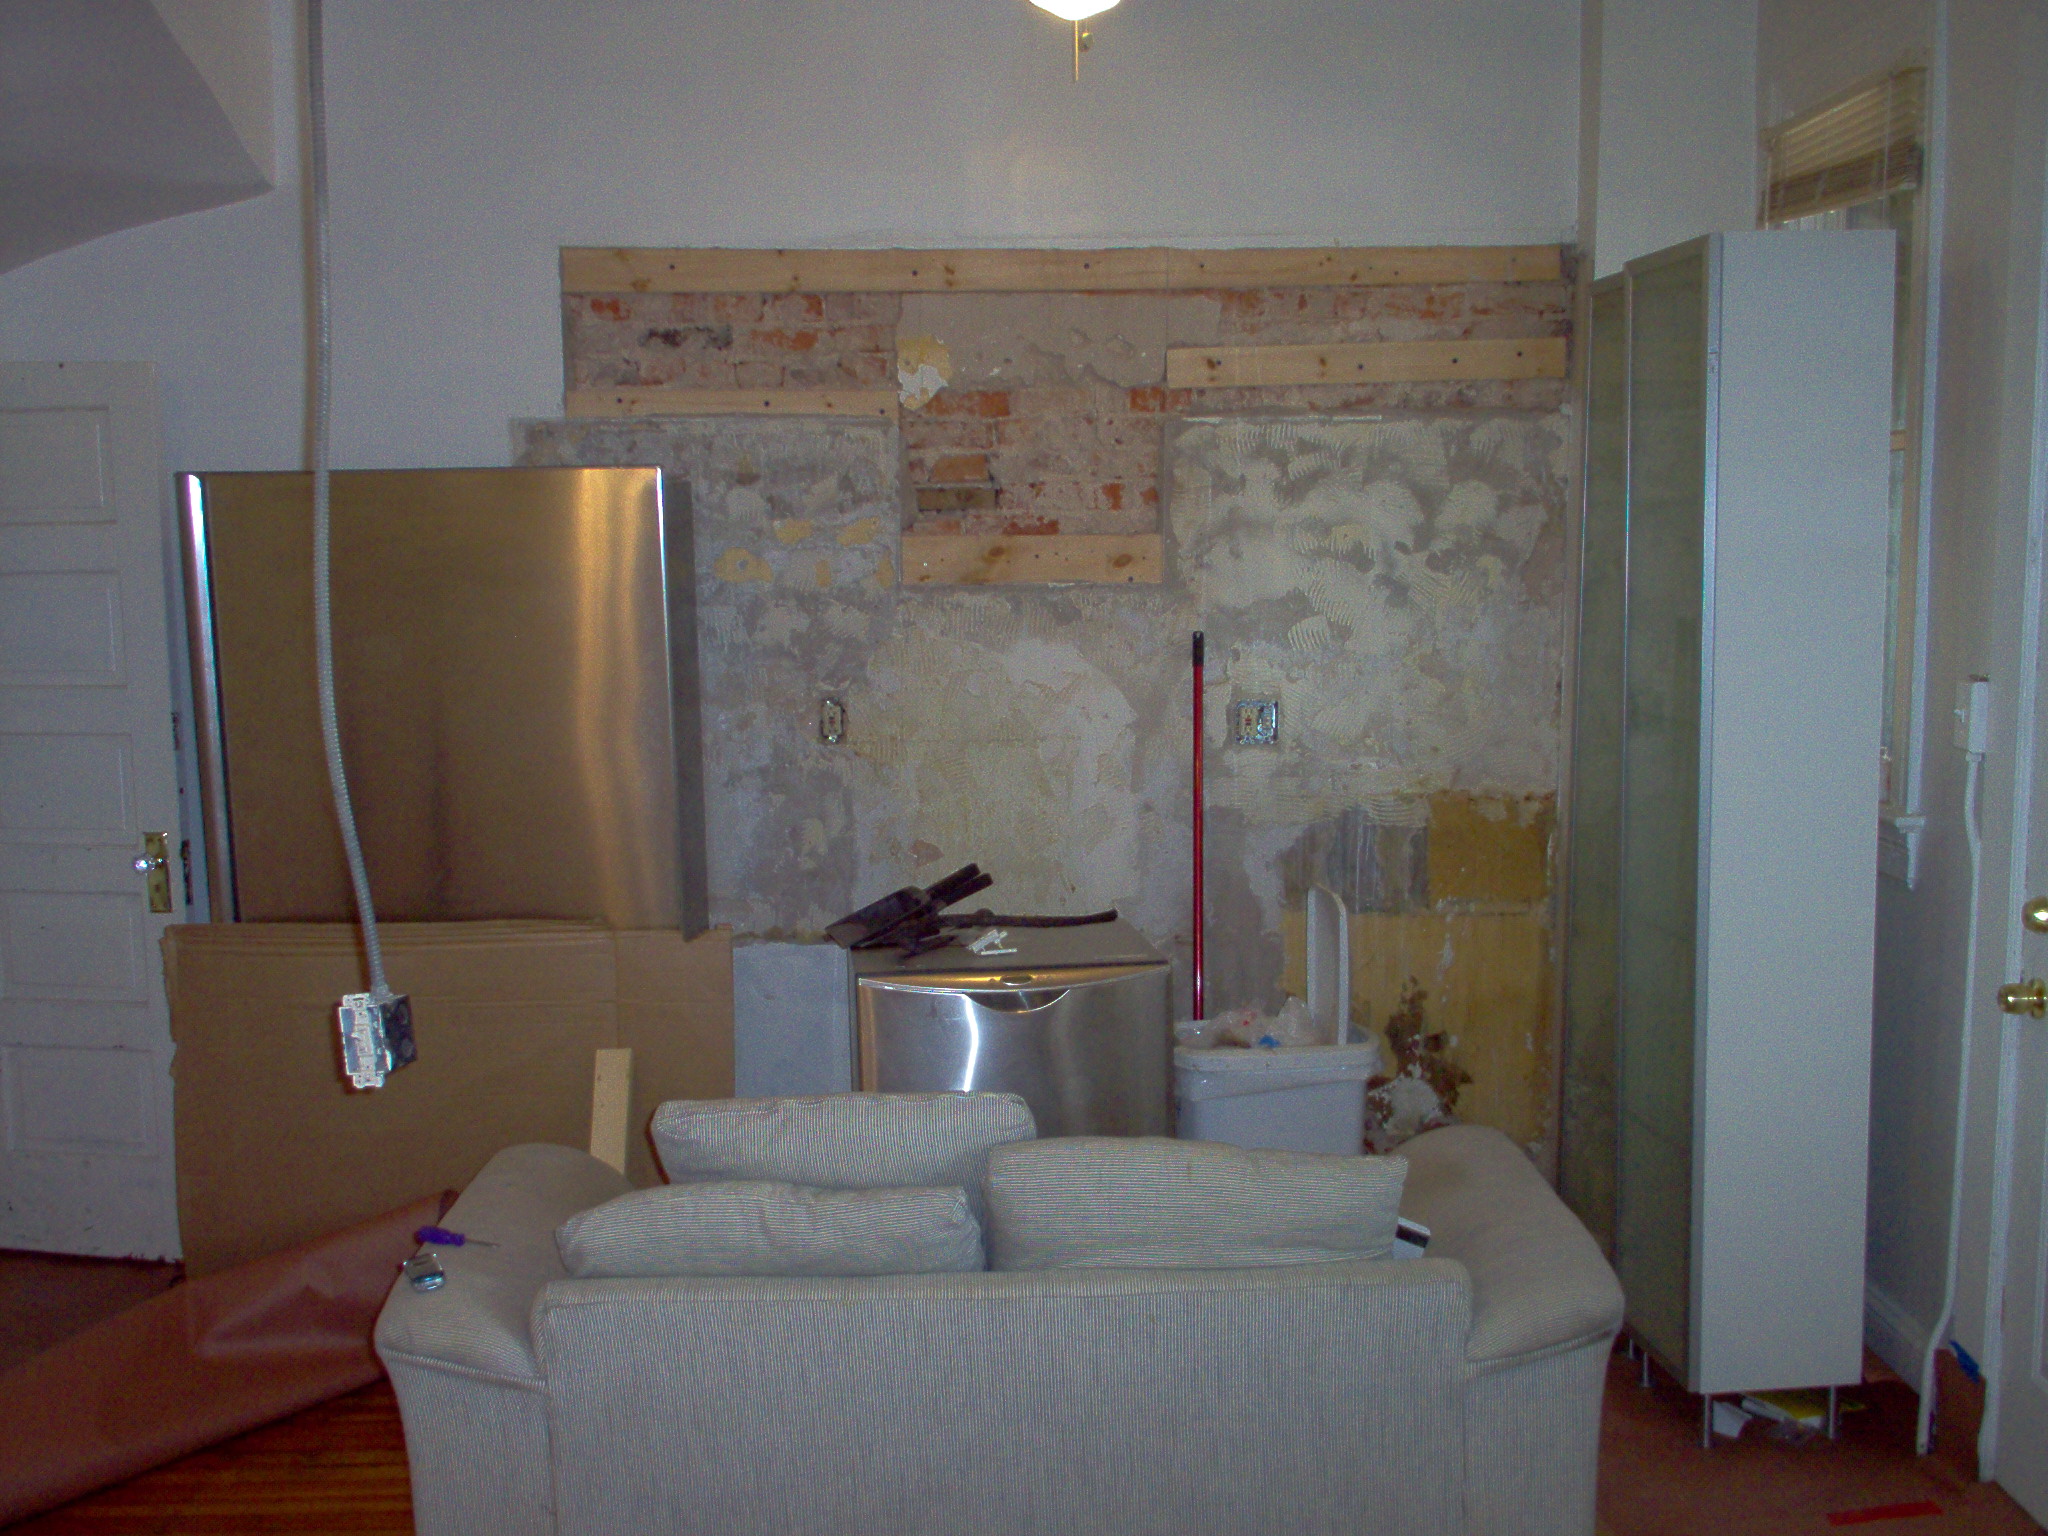
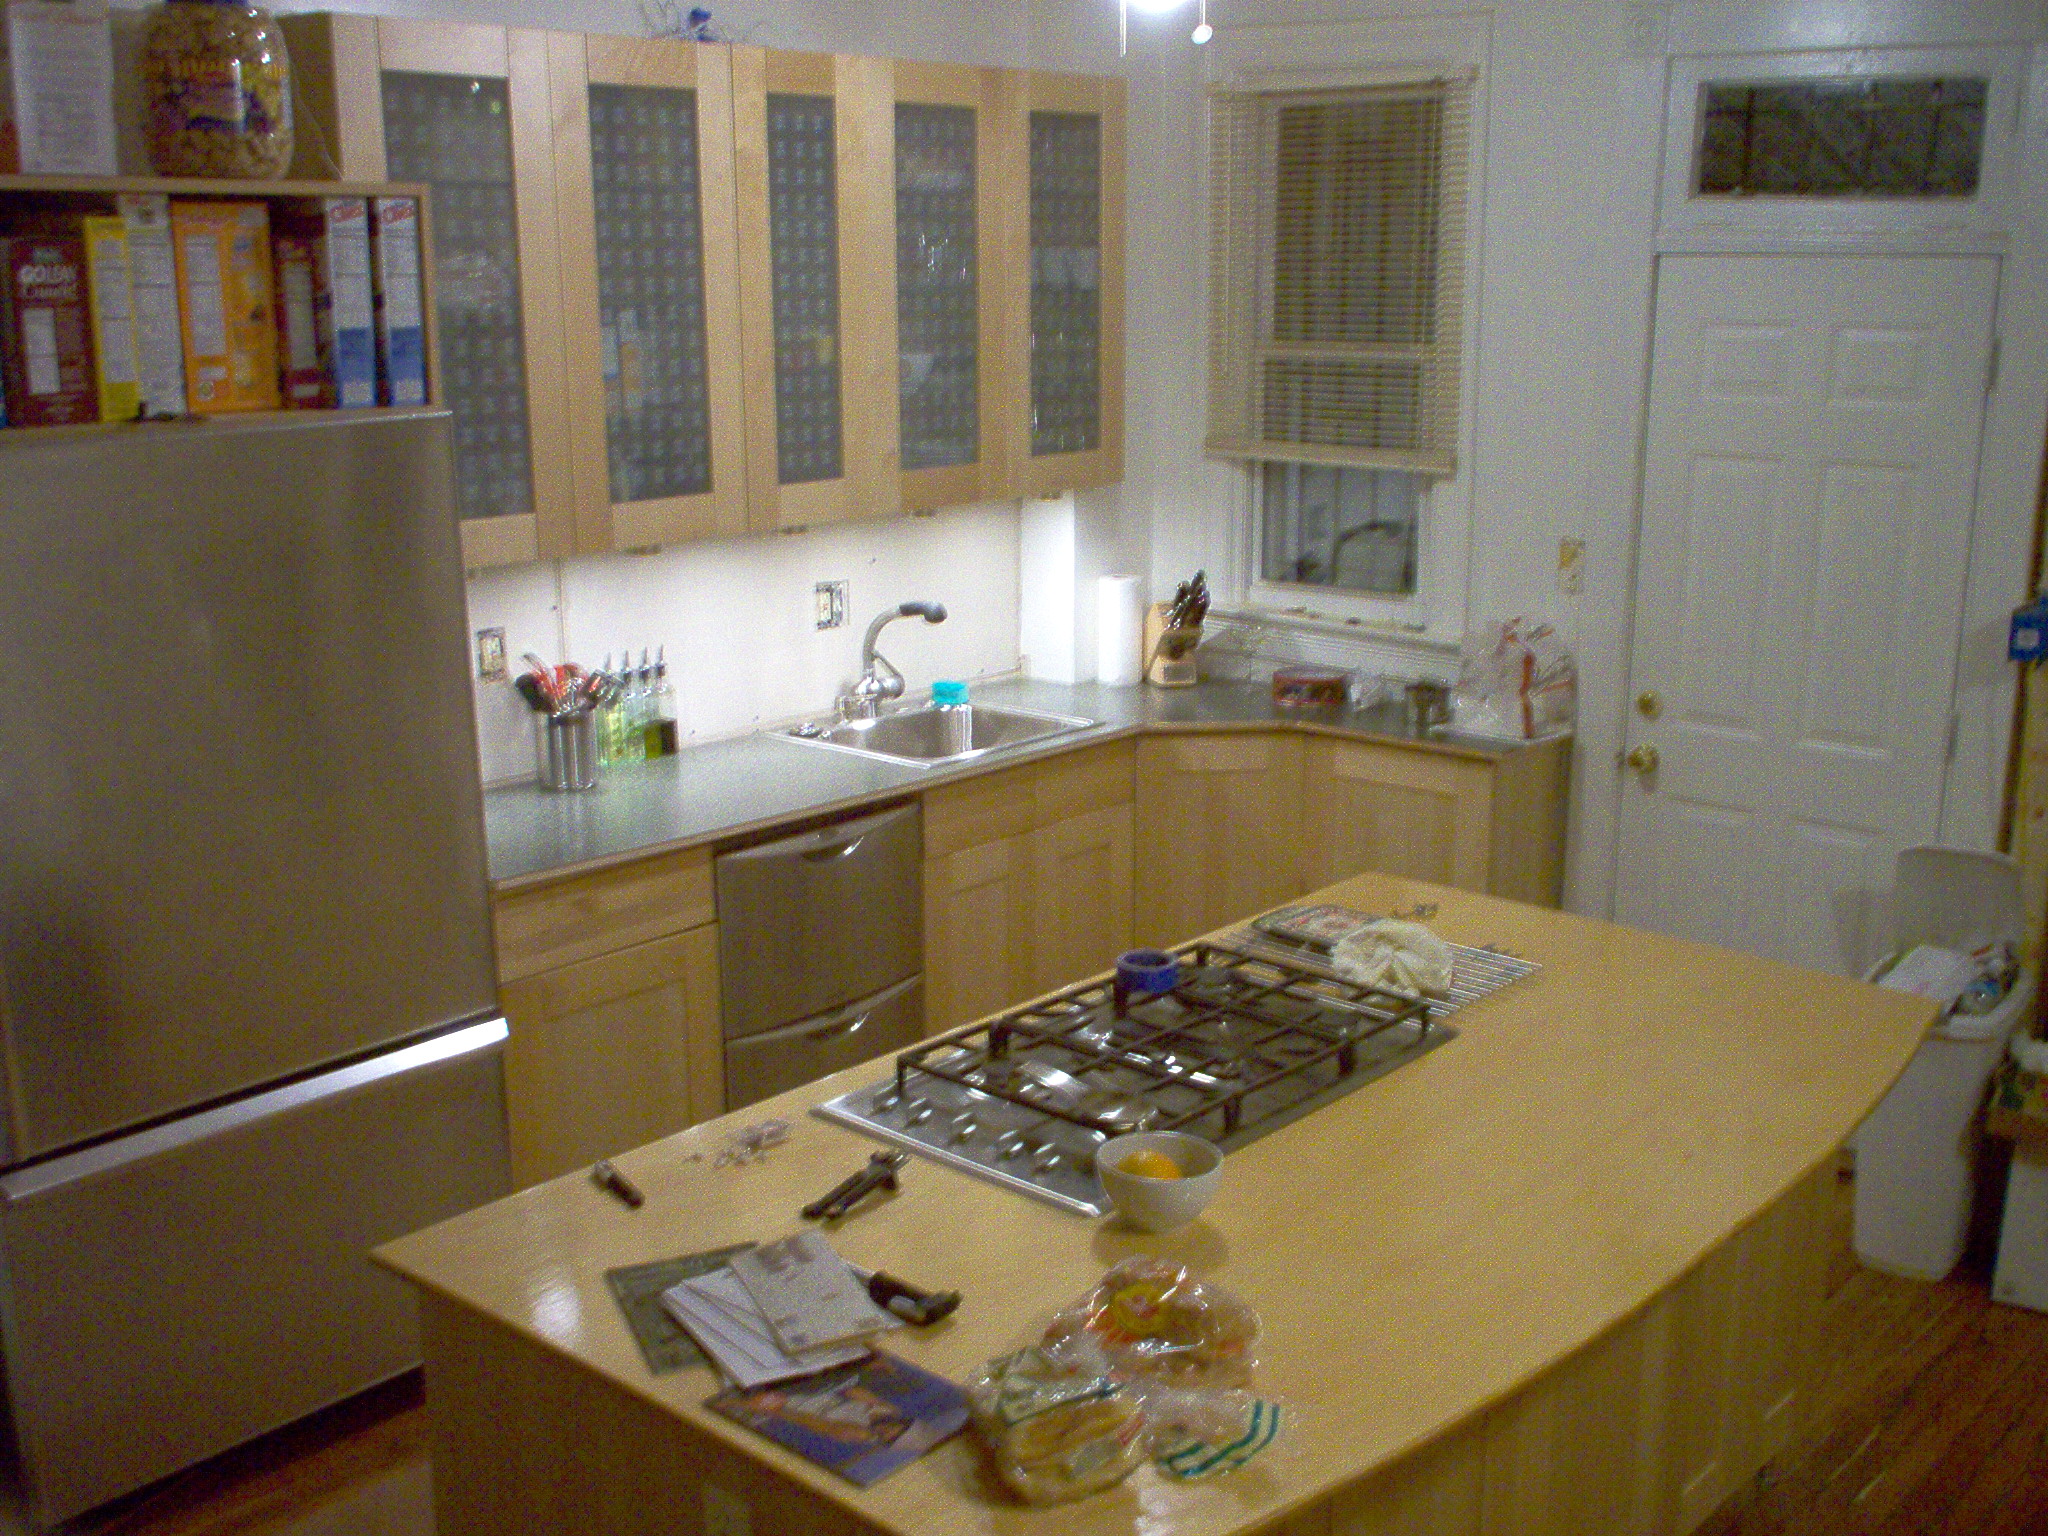
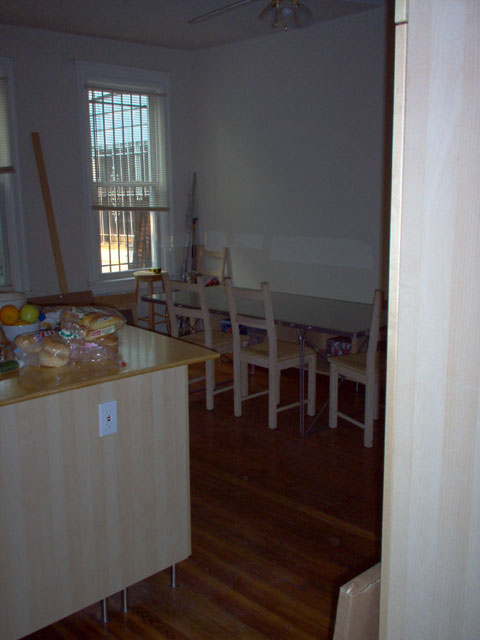
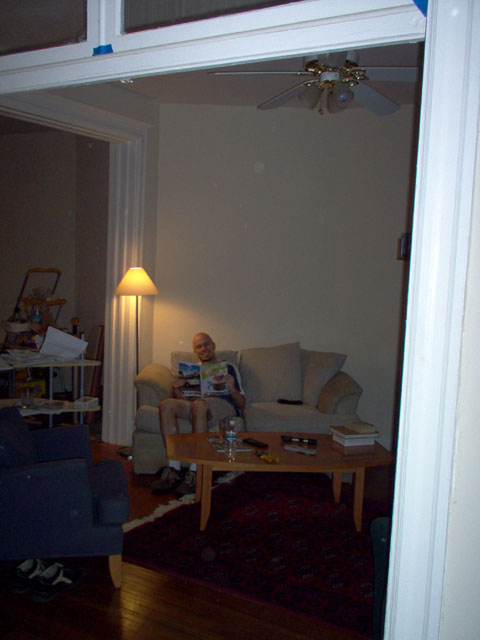
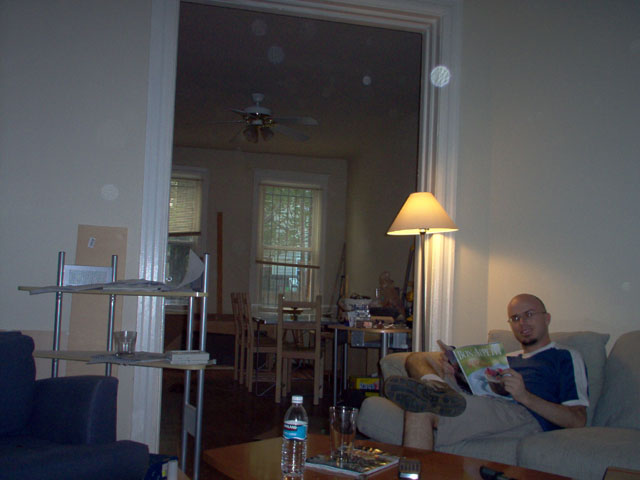
| The kitchen once all the cabinets were removed and the sofa was moved into it so that the other side of the floor oould be refinished. |
 |
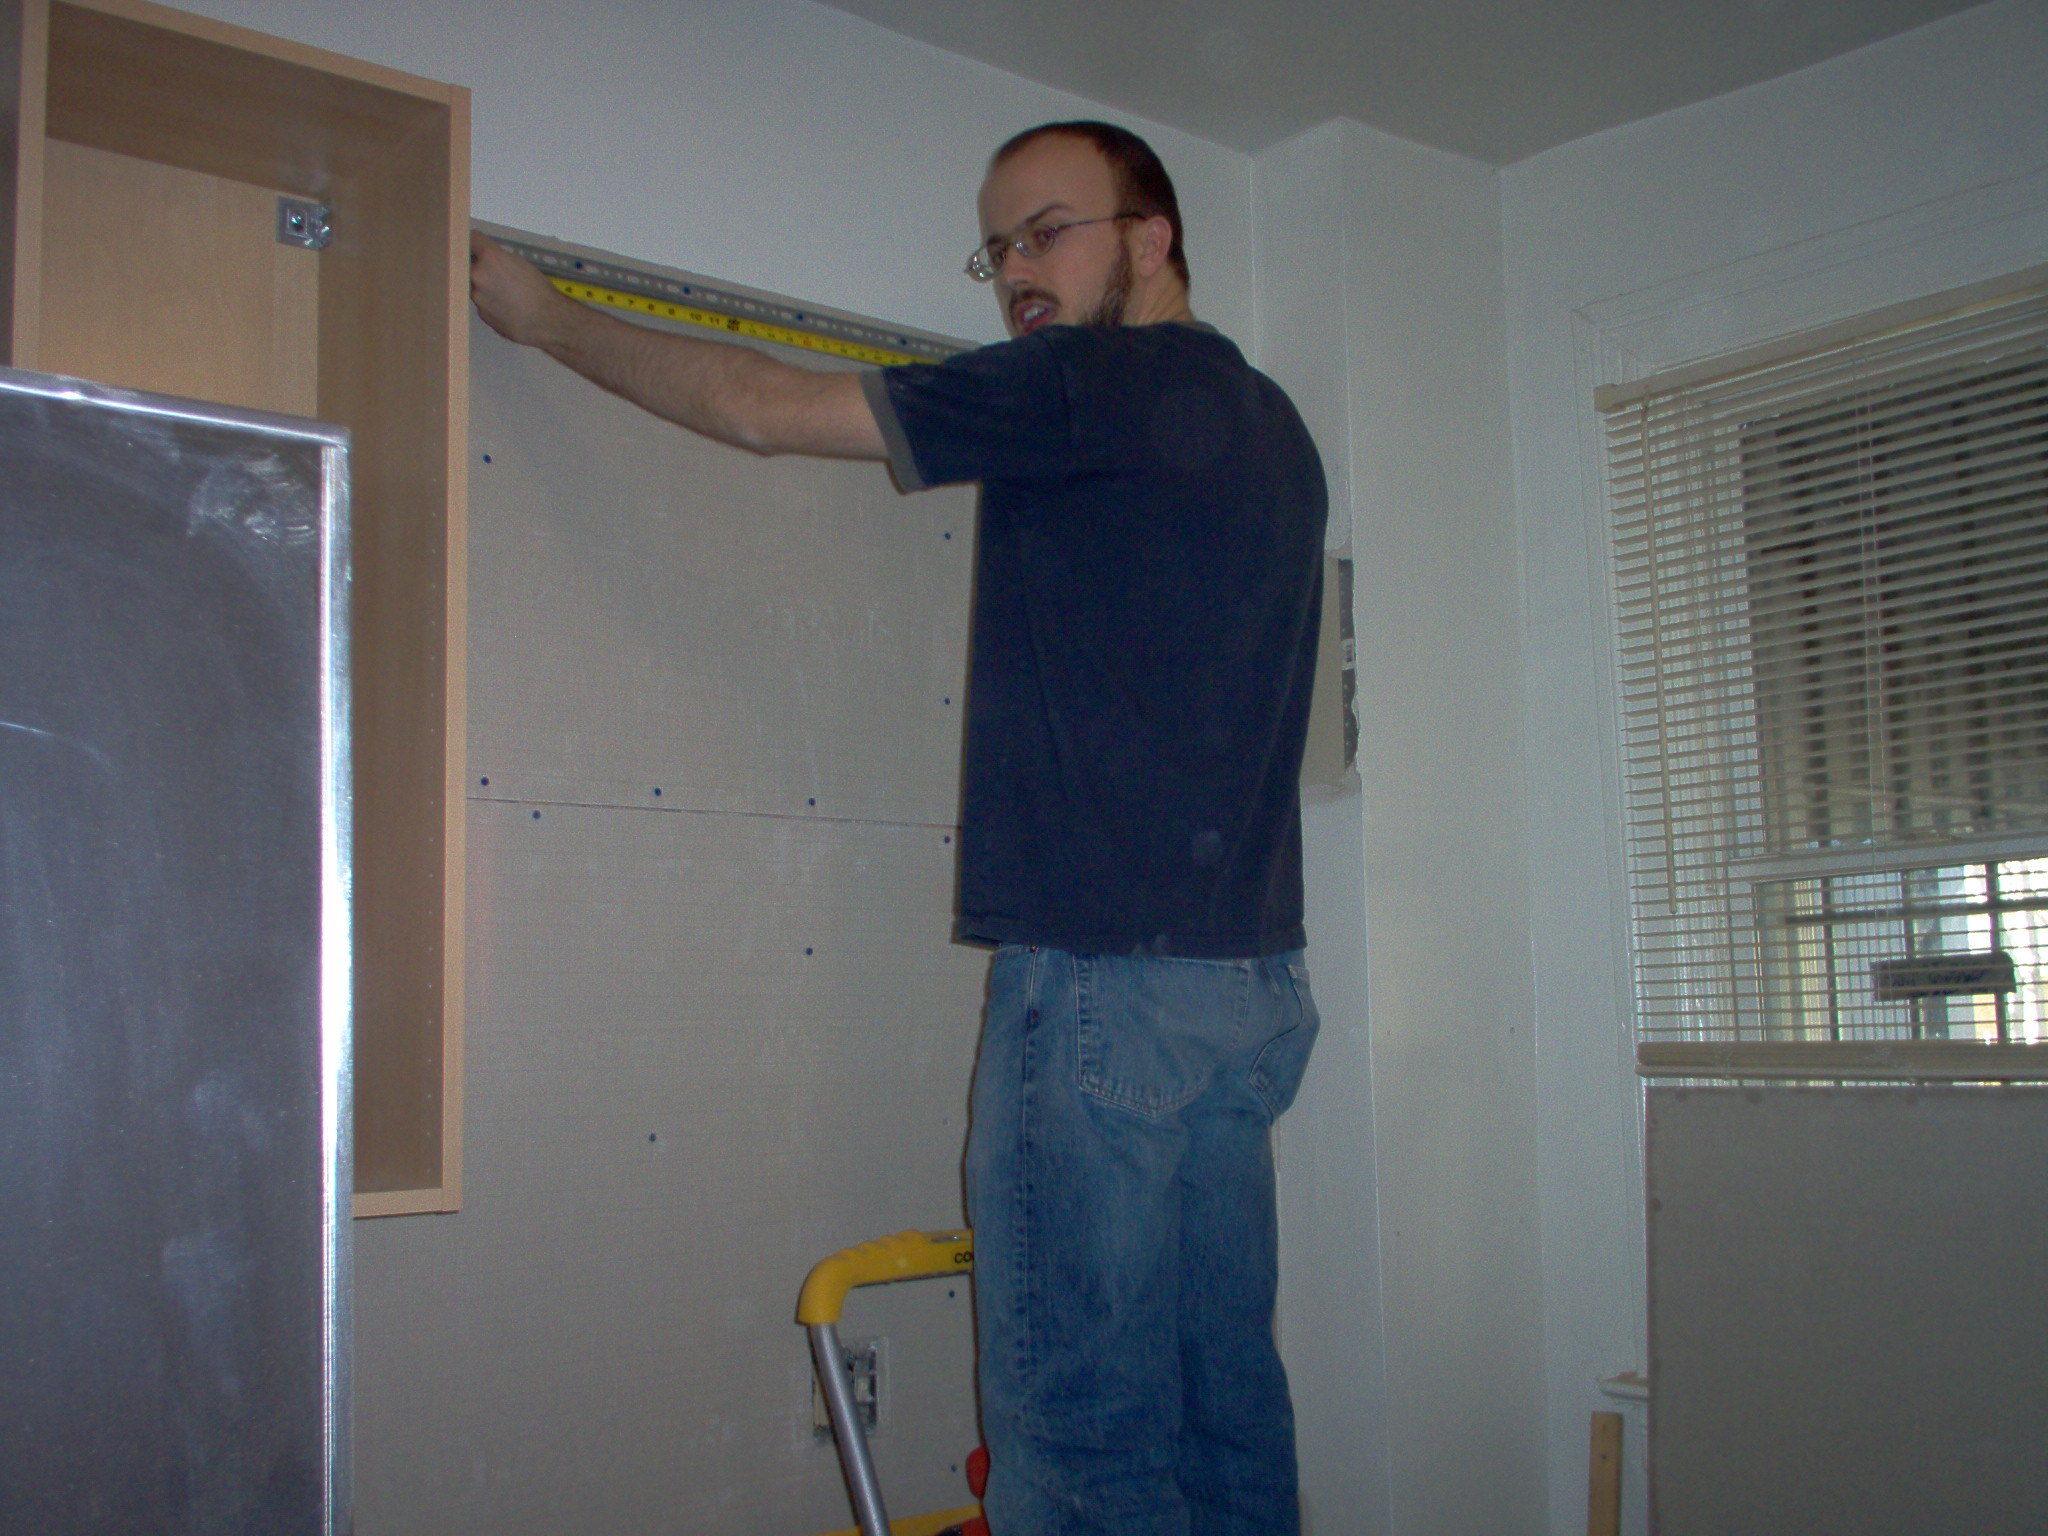
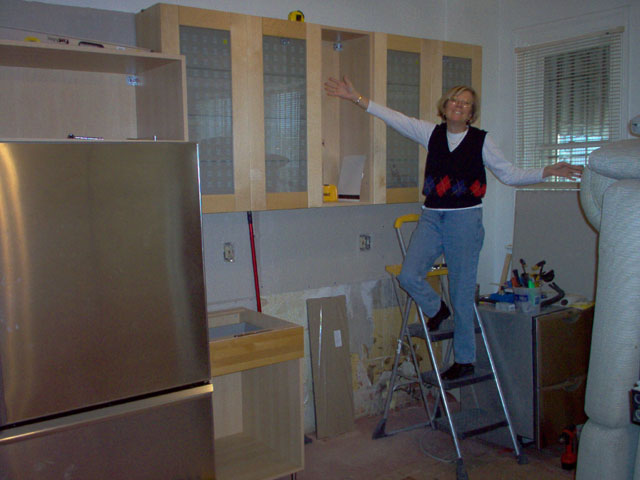
| Measuring screw locations before hanging a wall cabinet |
 |
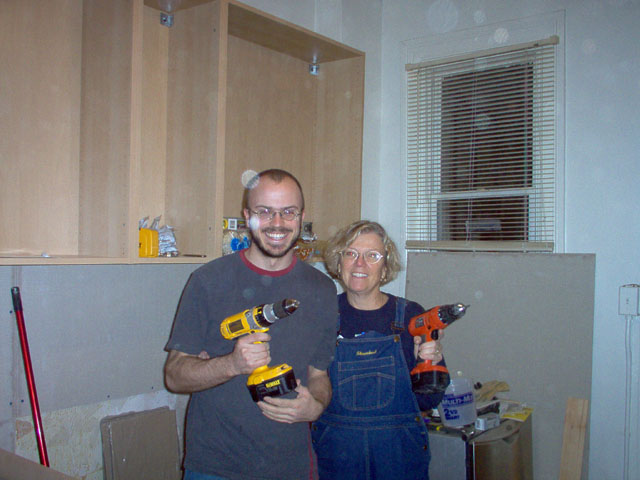
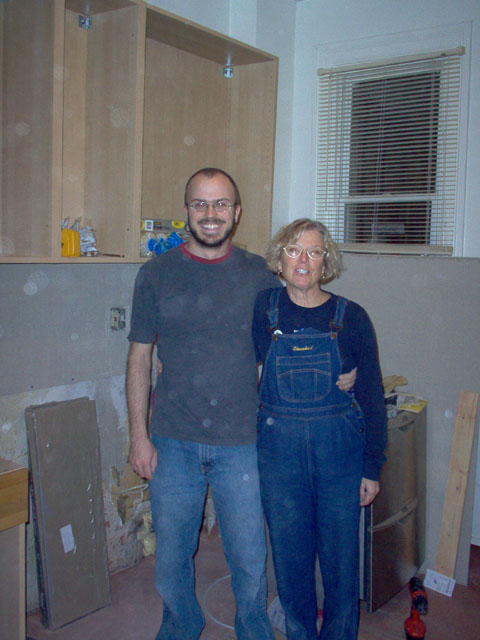
| Mom and I posing for the camera after a long day's work |
 |
|
 |
|
 |
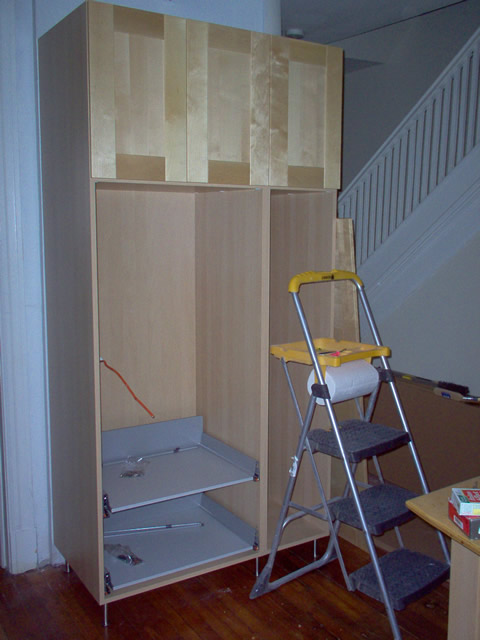
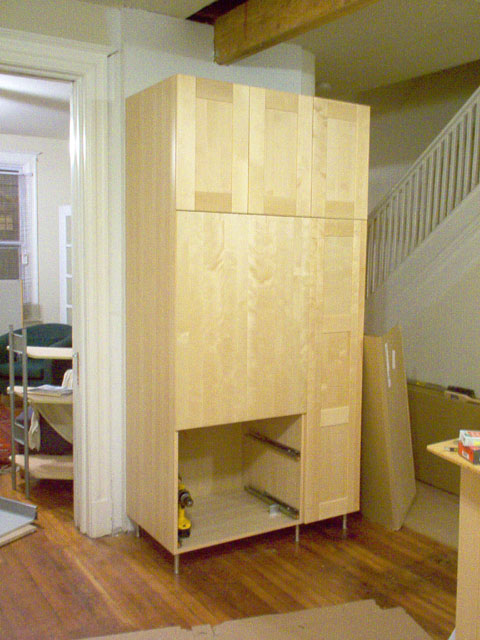
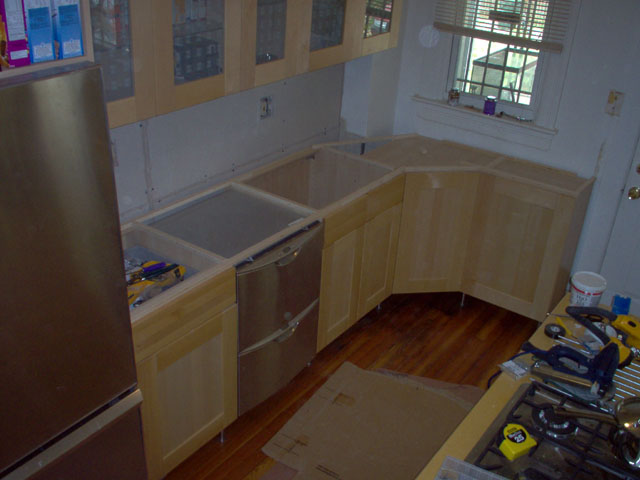
| This is what Mom and I were able to assemble and get installed before she had to leave to go back to California. |
 |
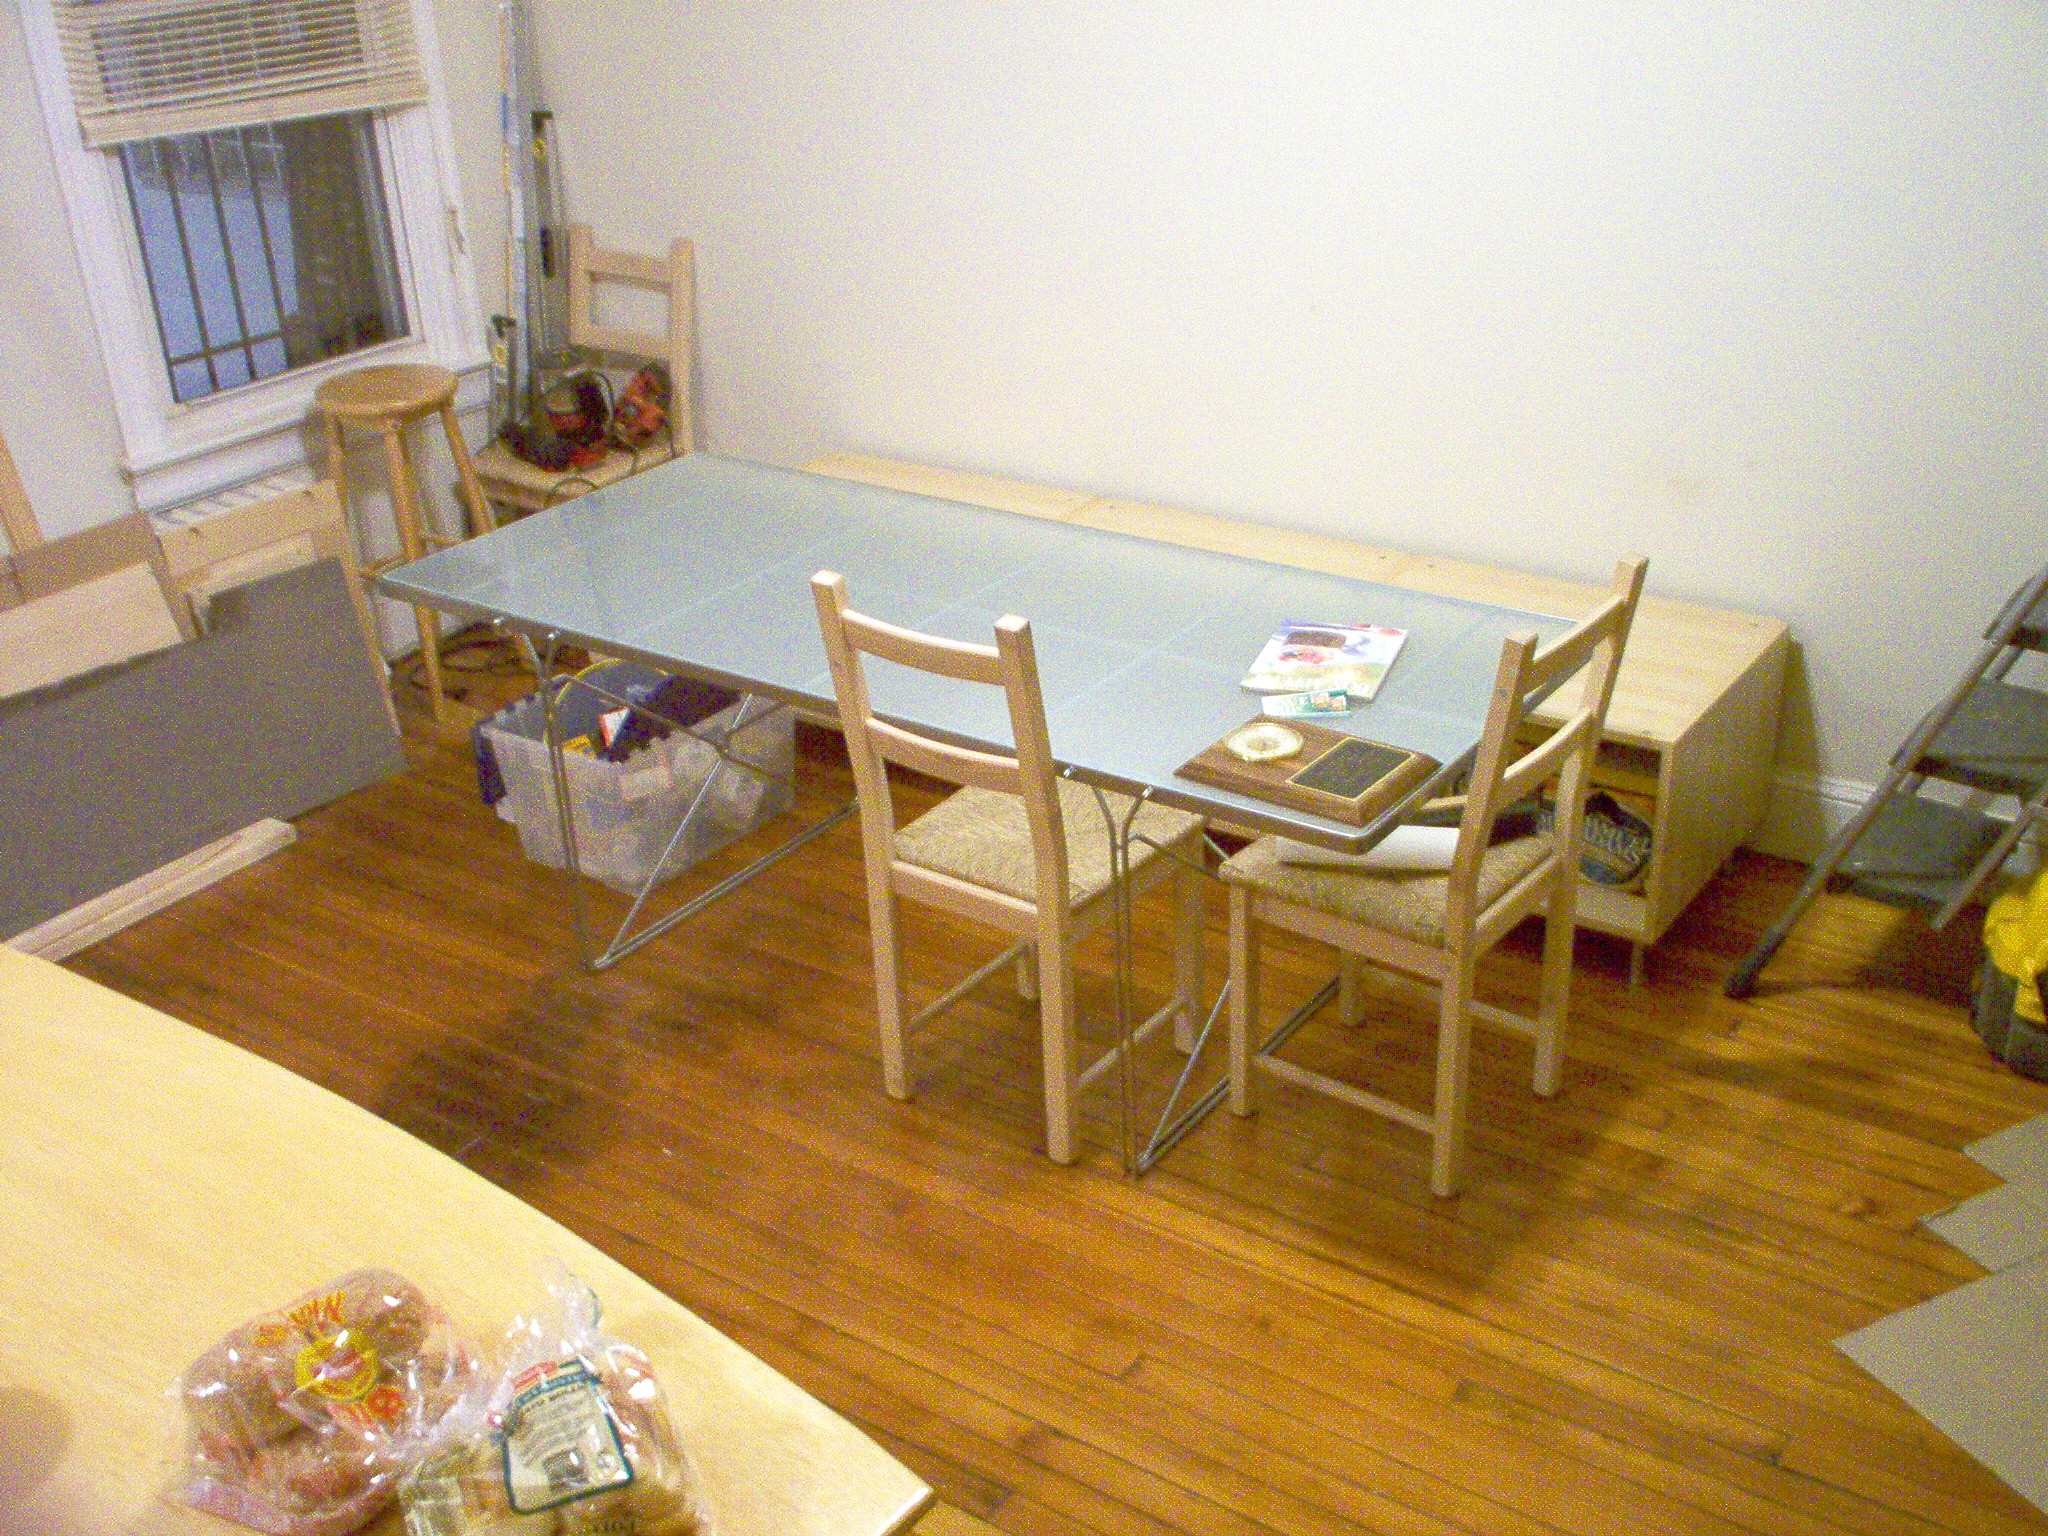
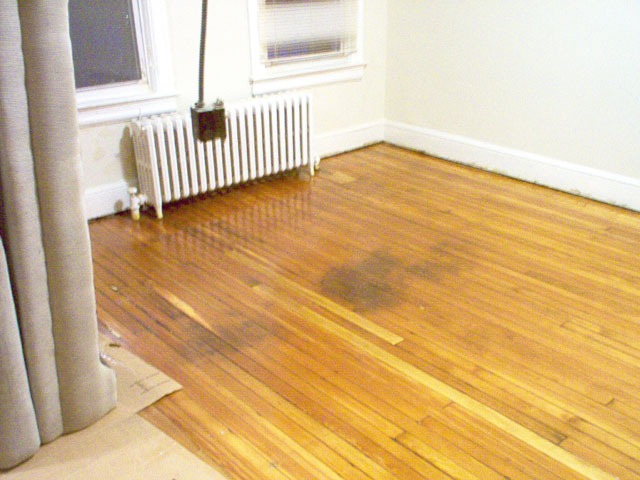
| The floor, after it was refinished. A couple old stains in the floor add "character" |
 |
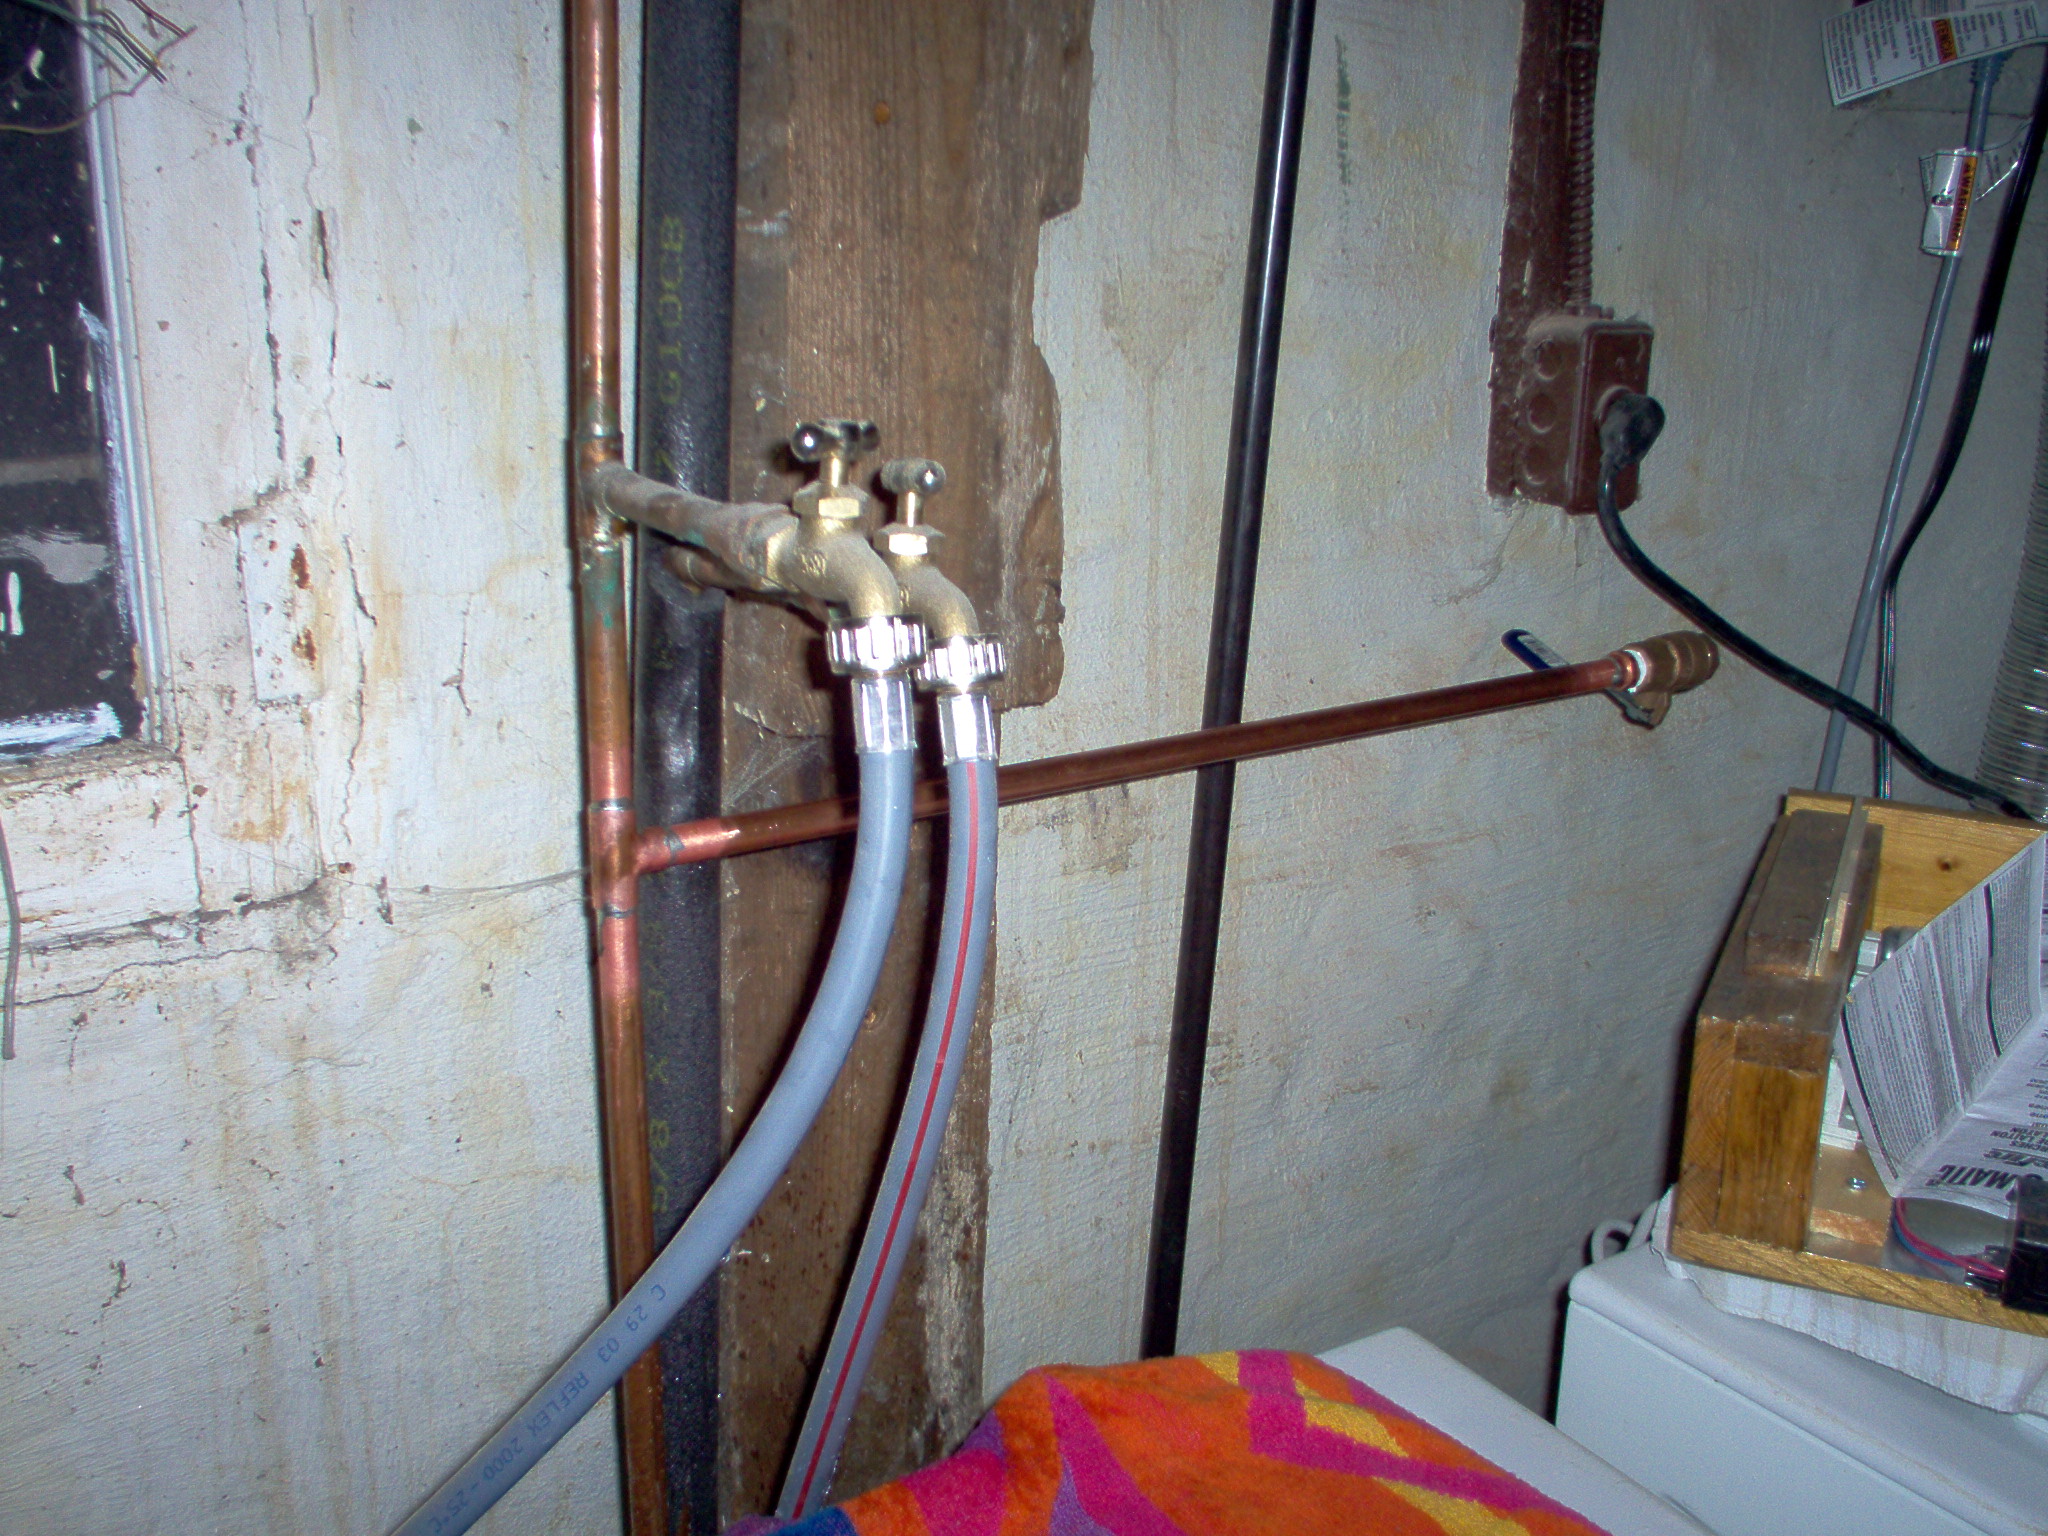
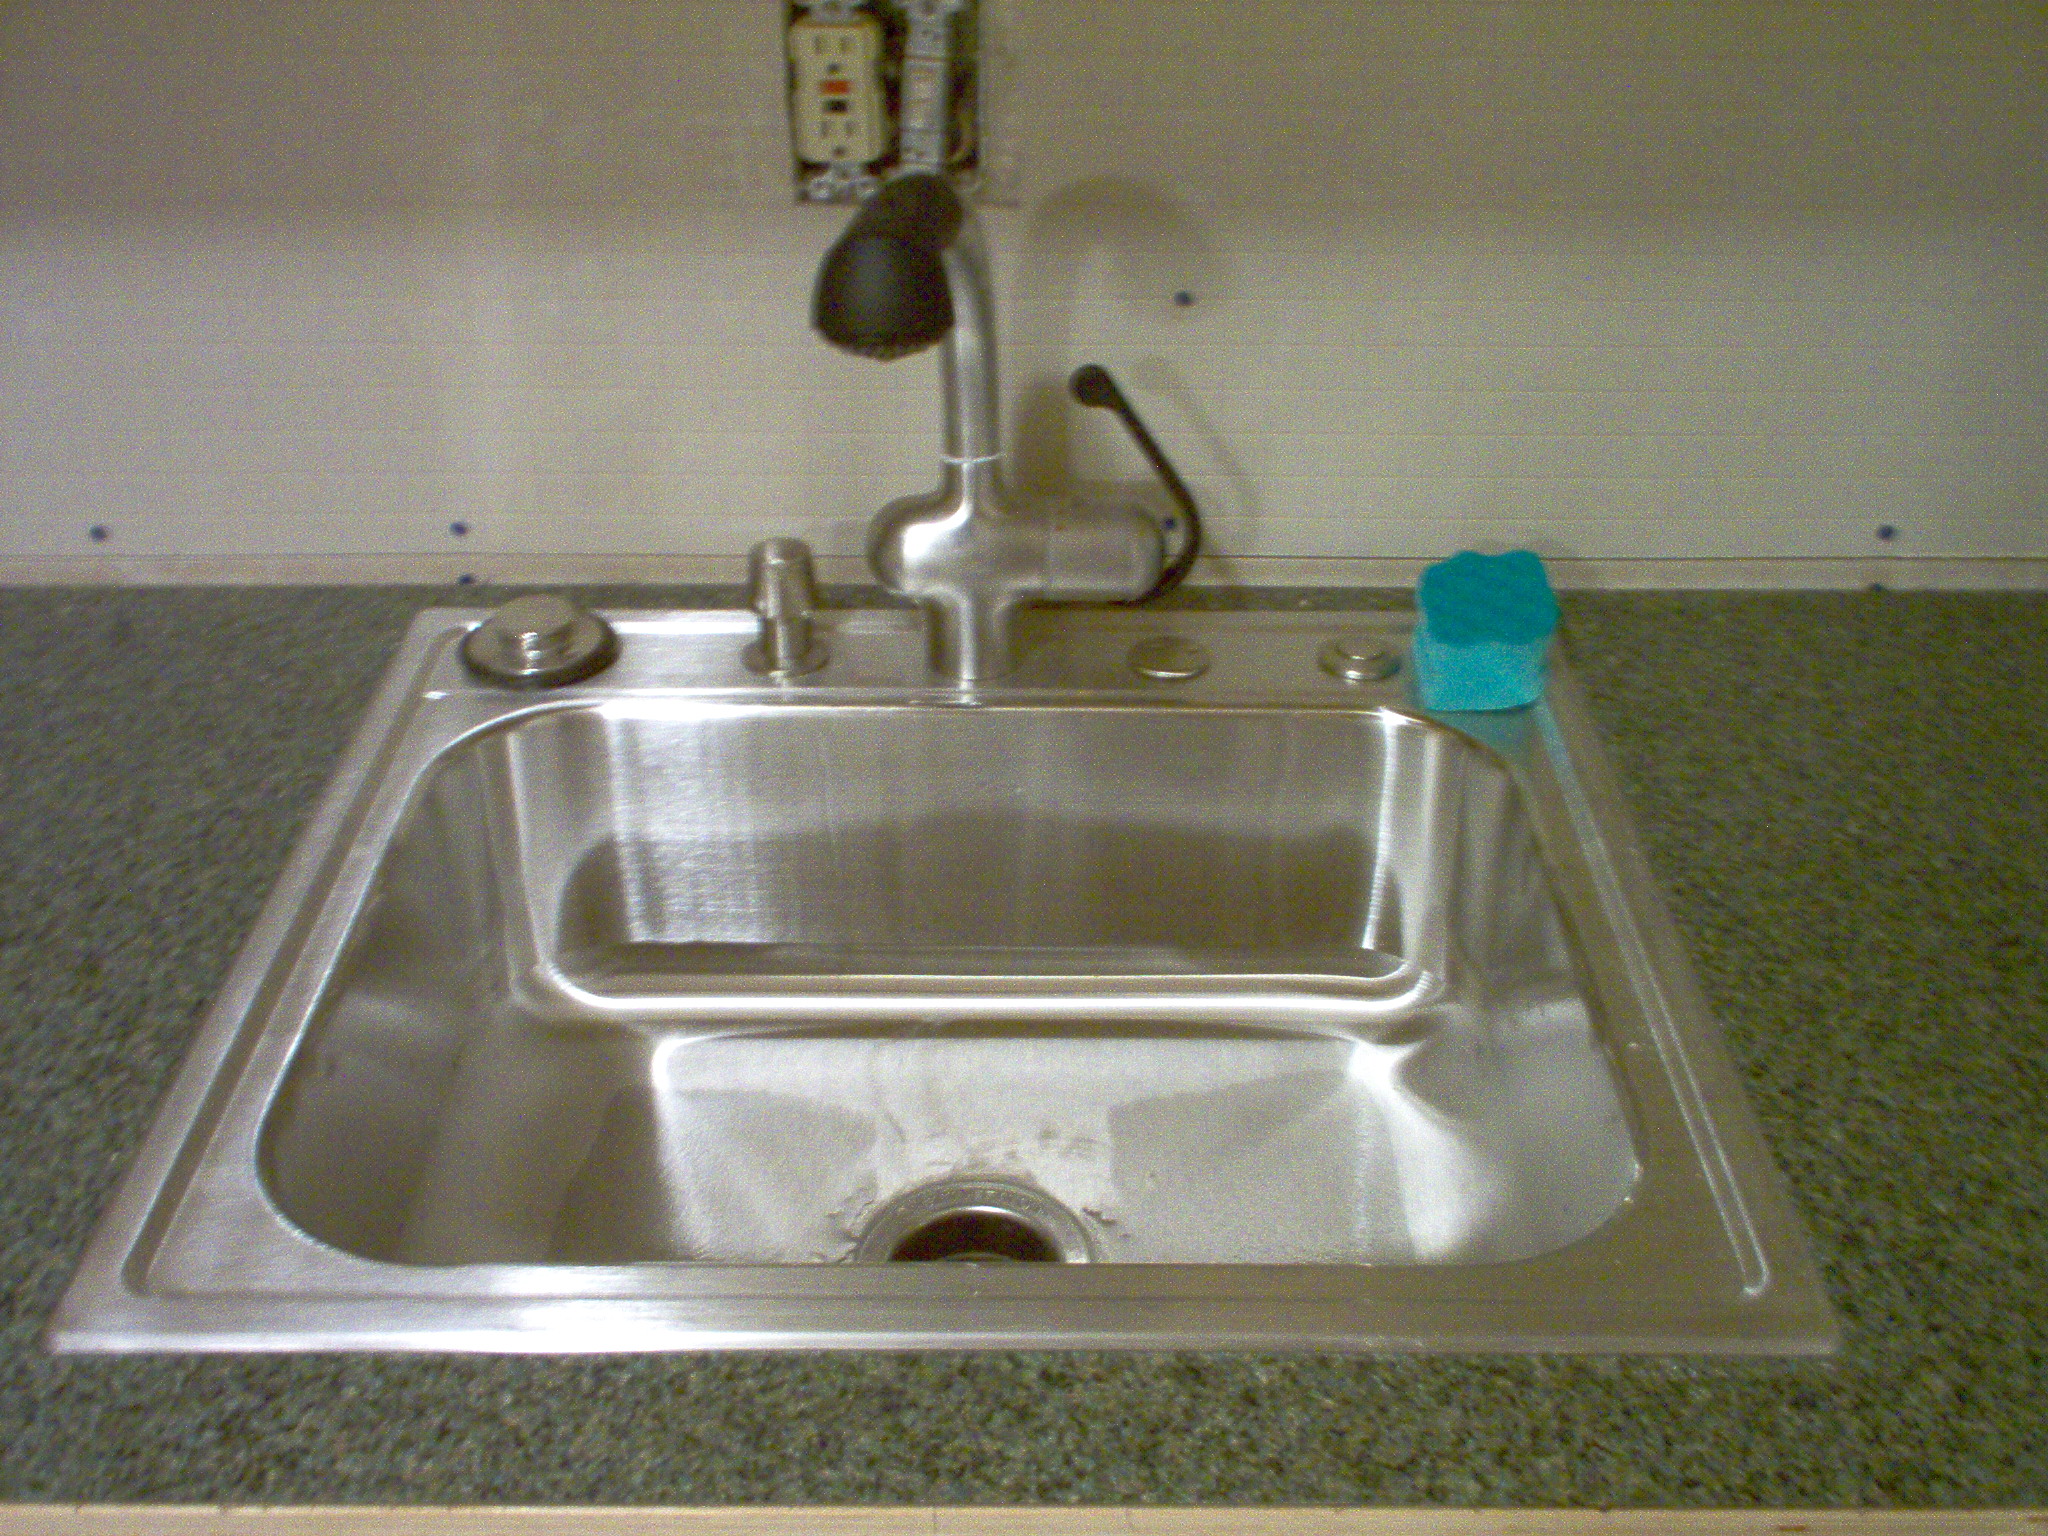
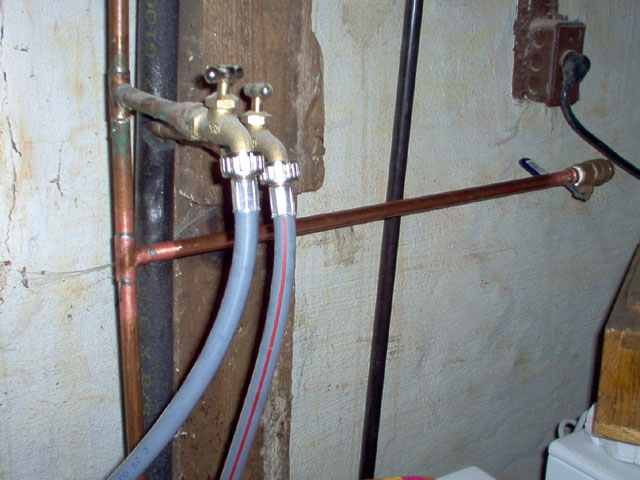
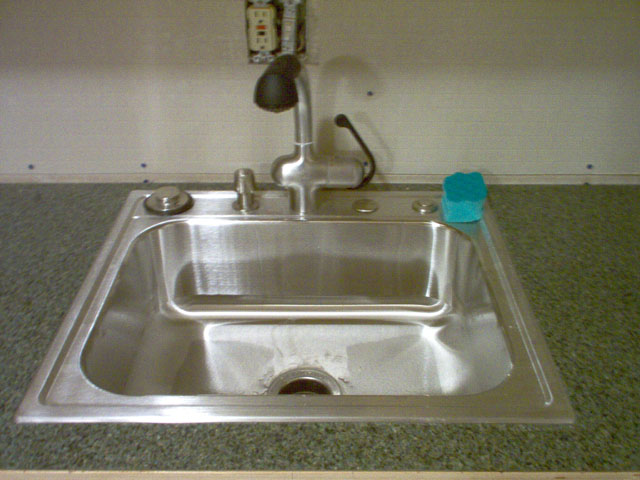
| The horizontal piece of copper was my first time sweating copper. No Leaks! |
 |
3/21/2004
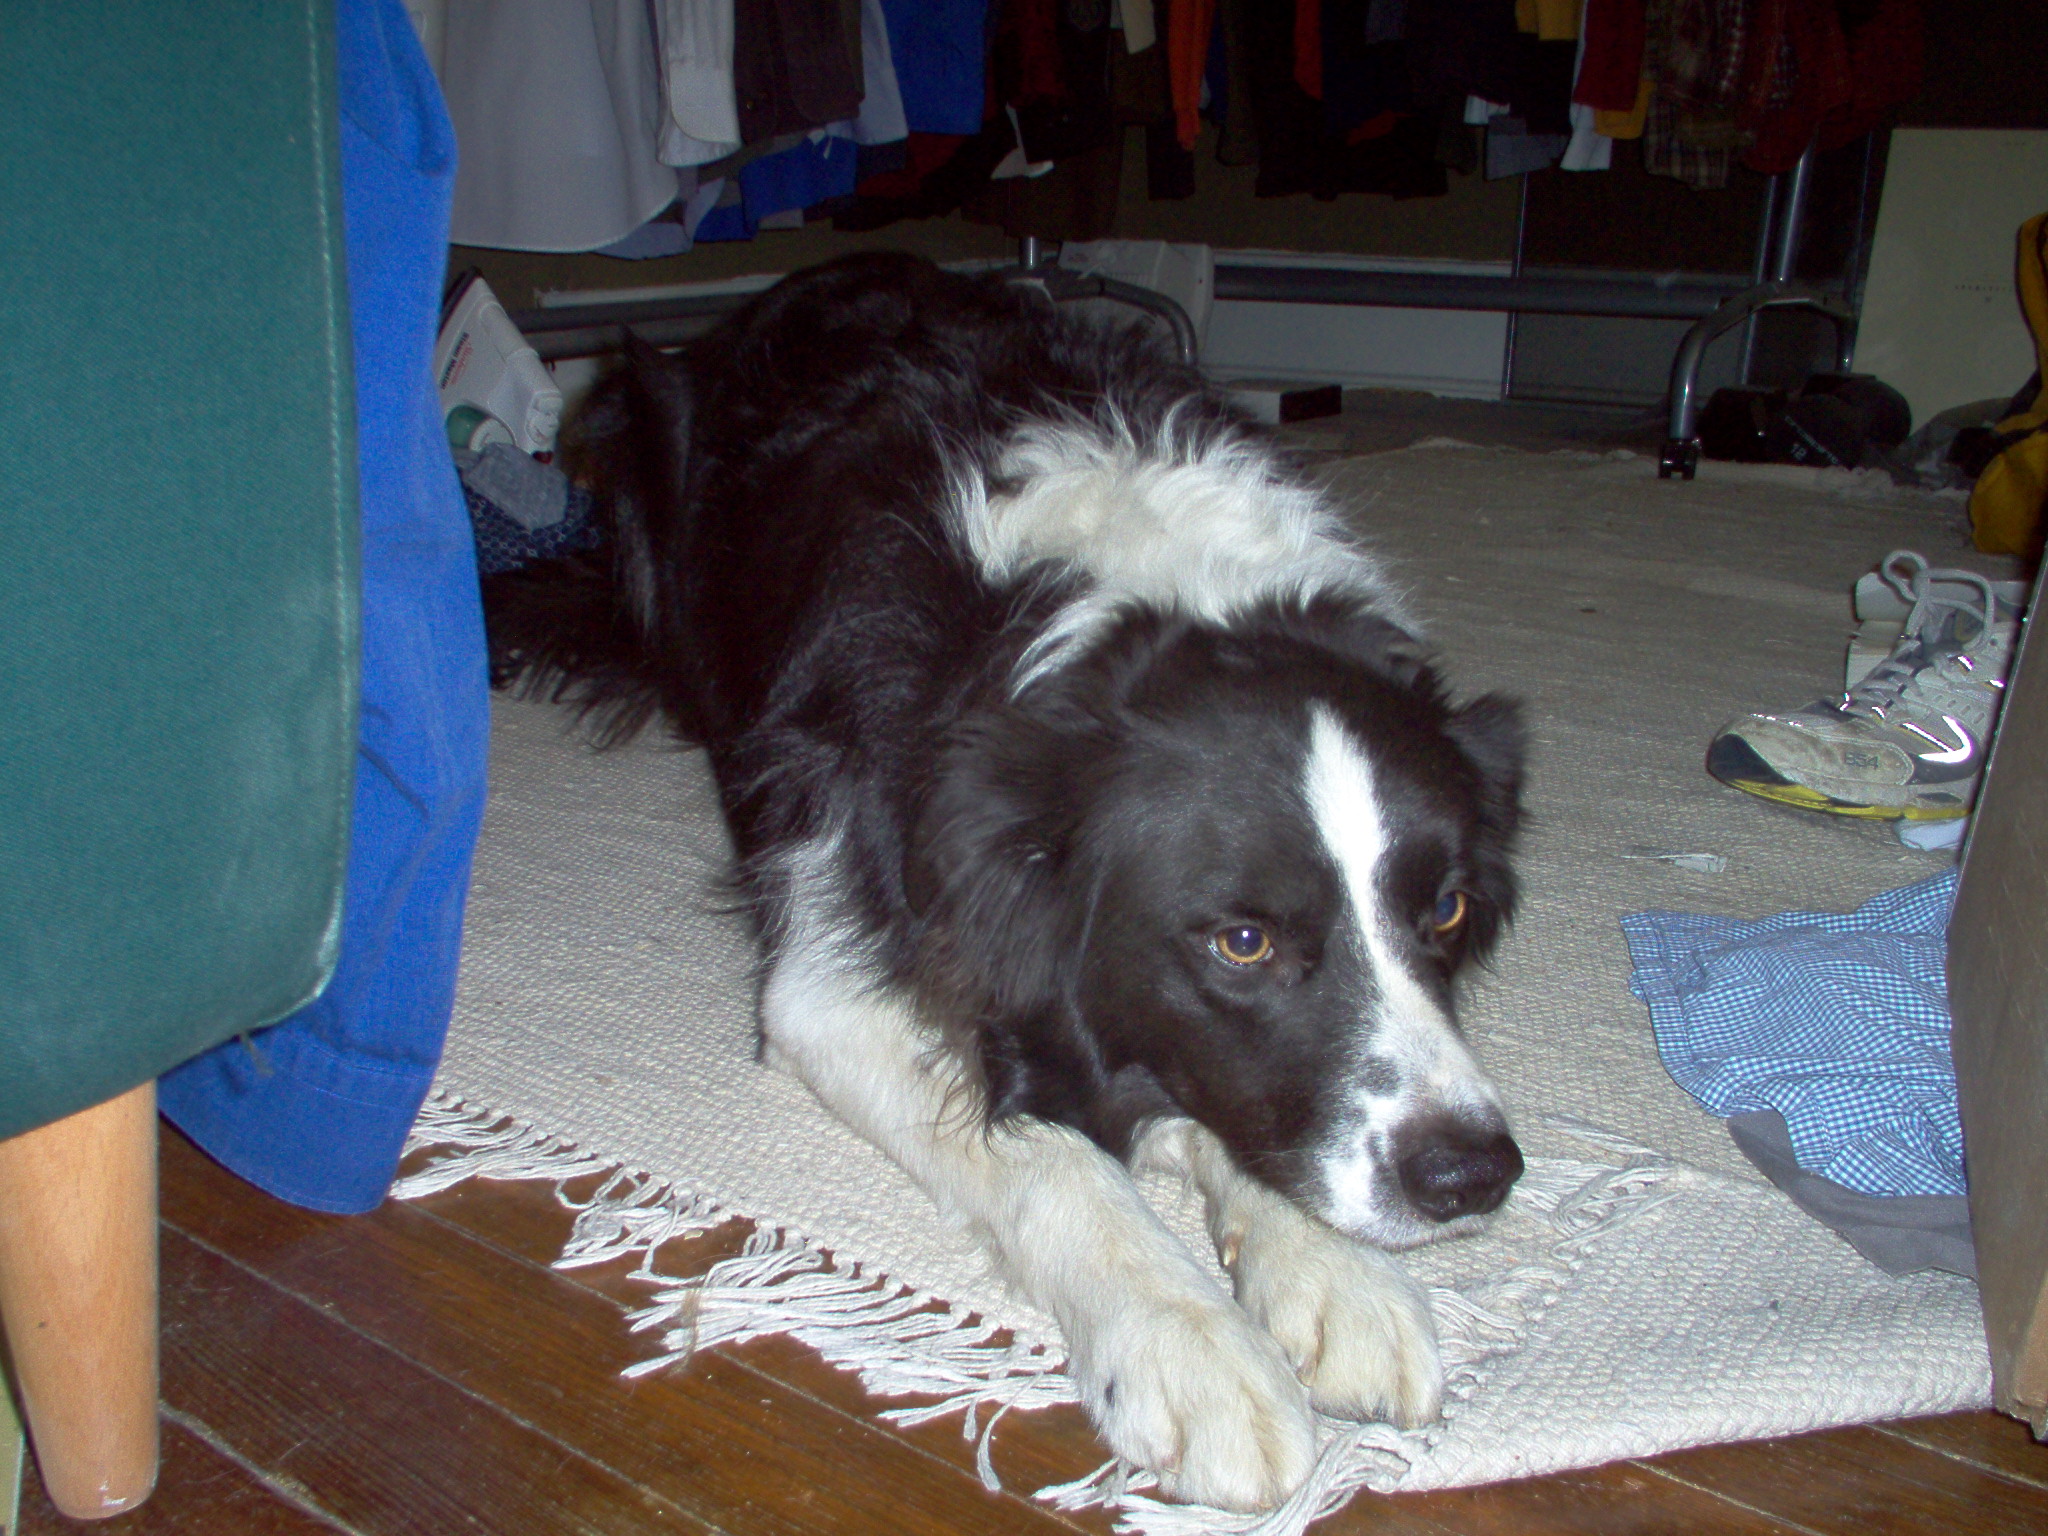
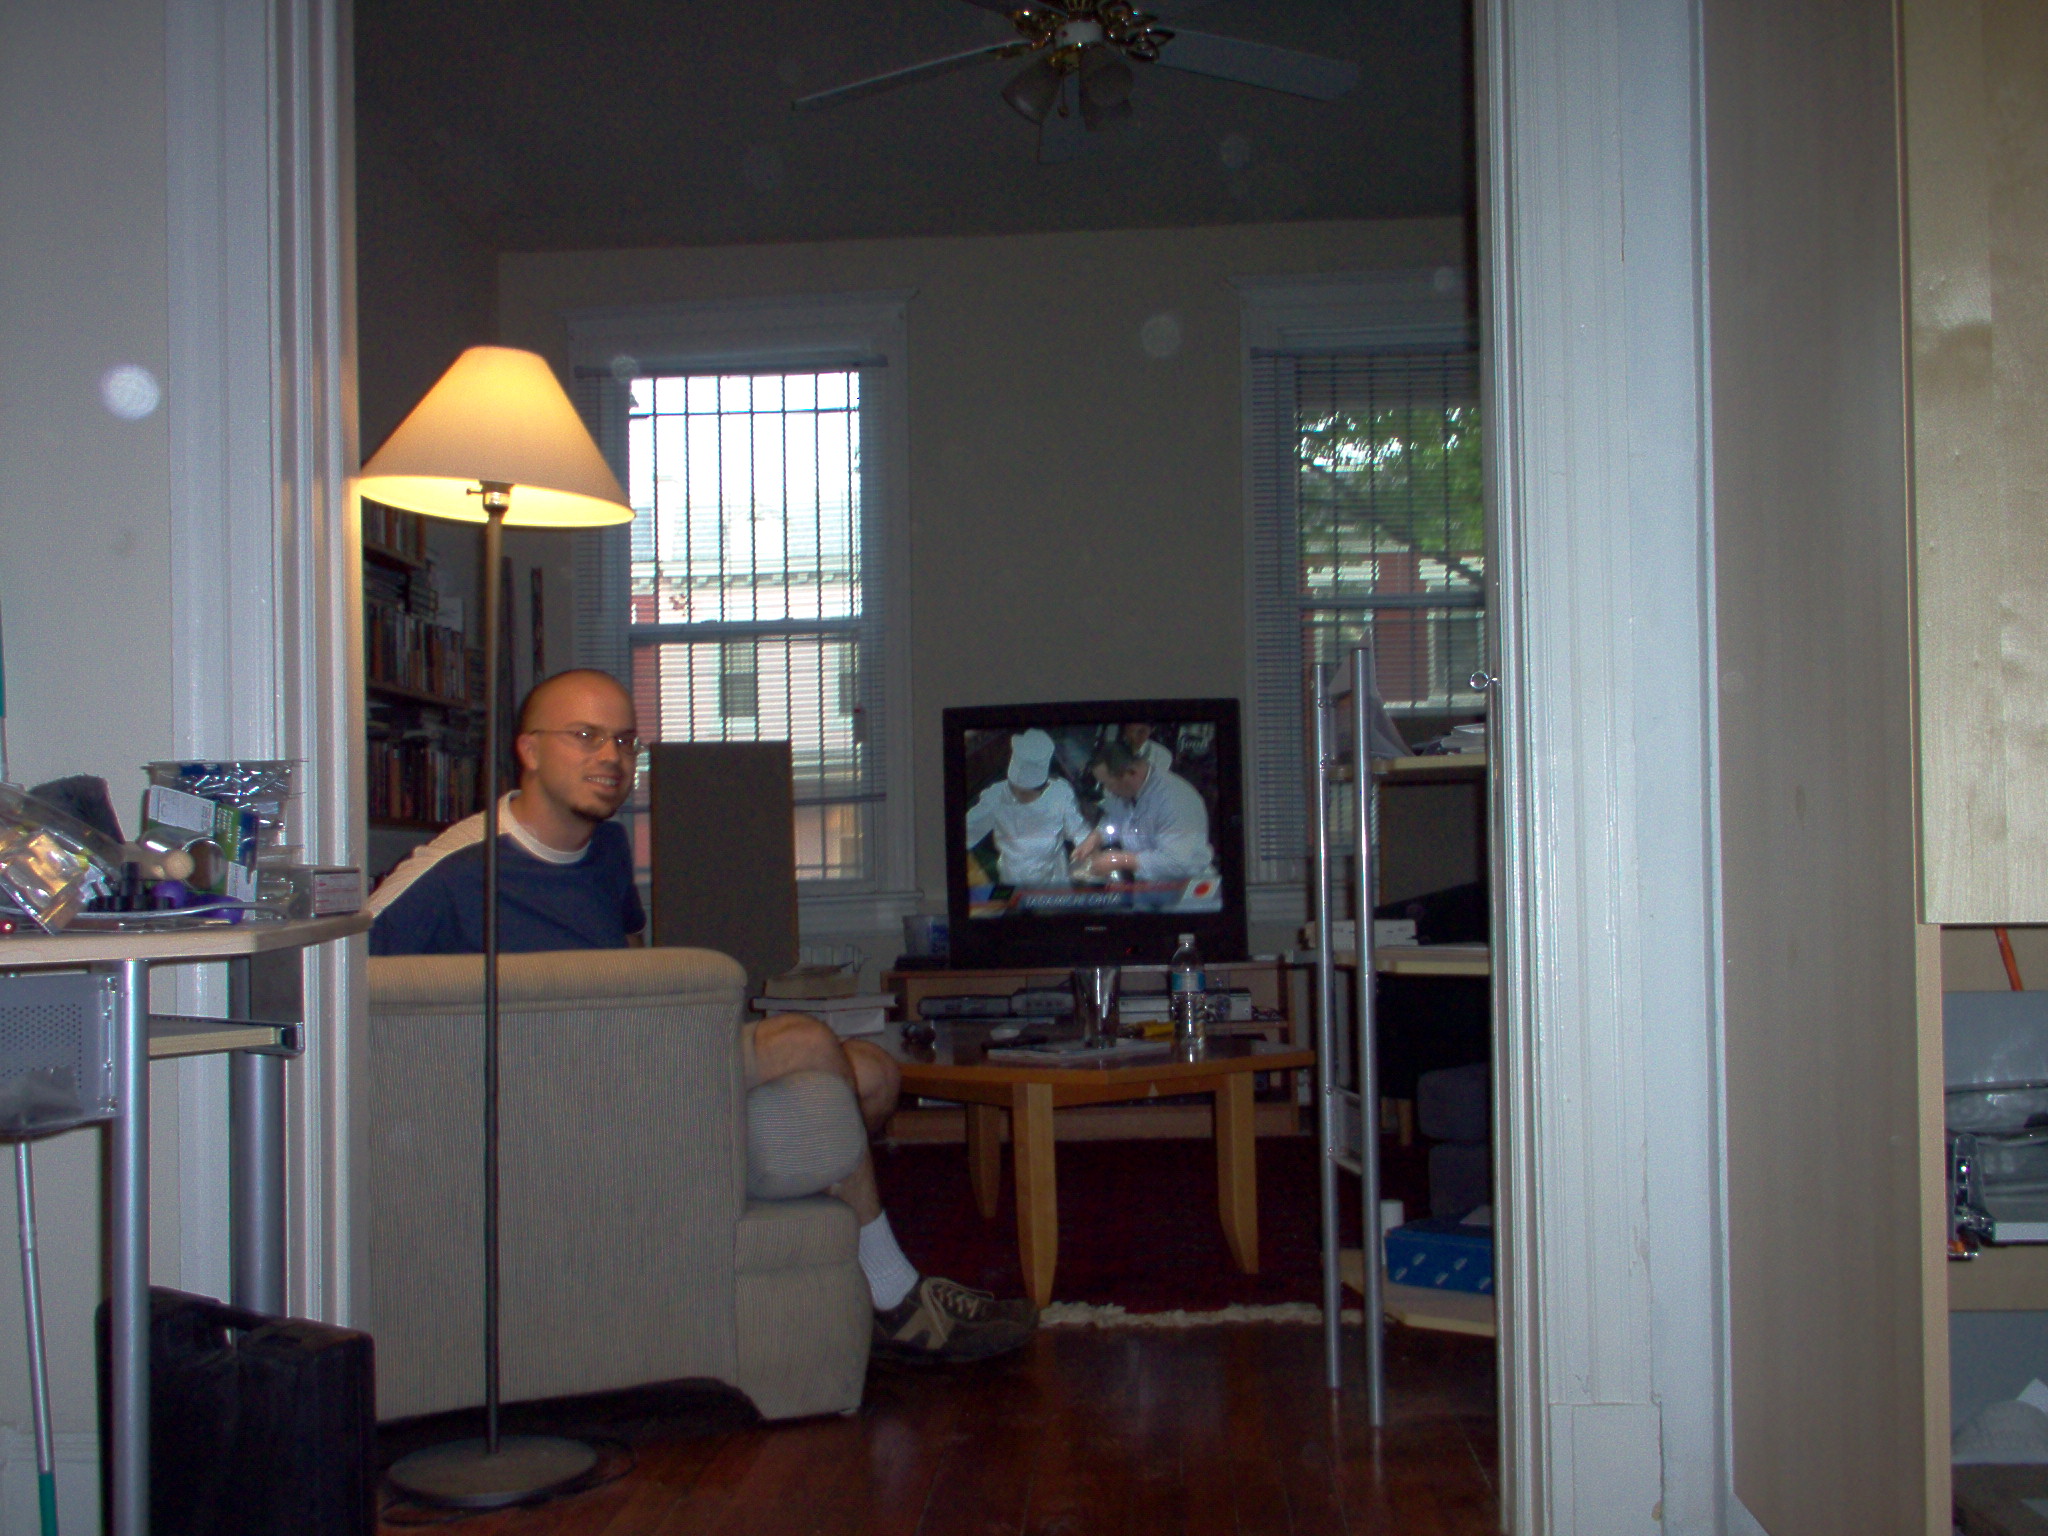
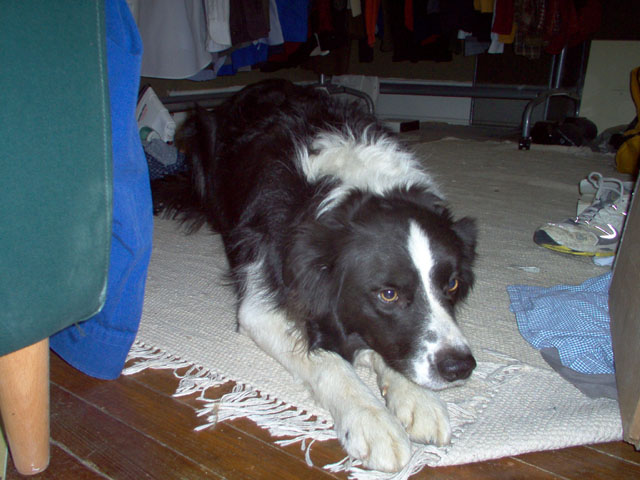
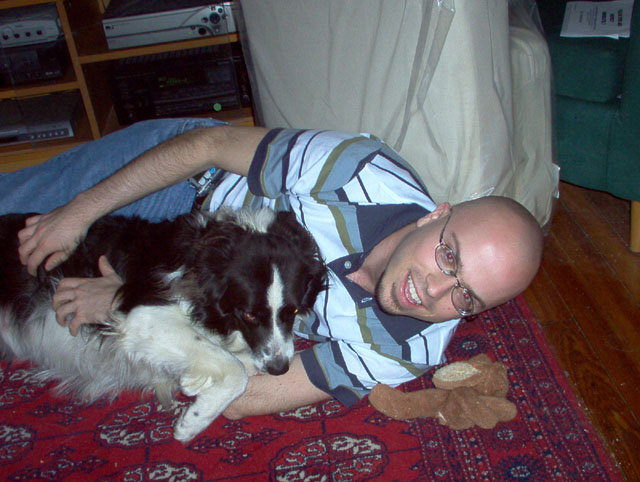
Jack hangs around the kitchen a lot. |
 |
3/21/2004
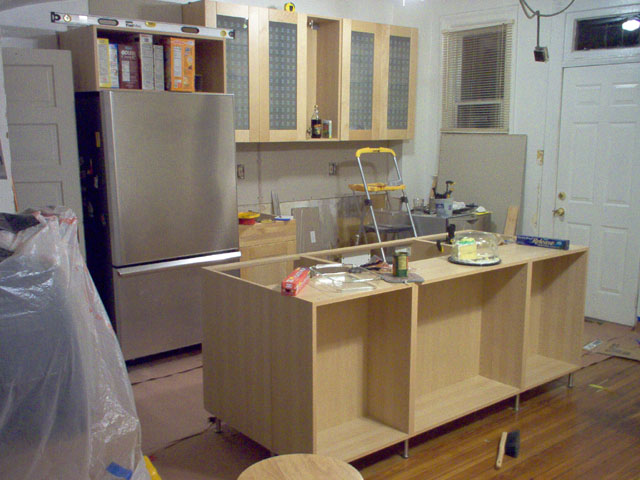
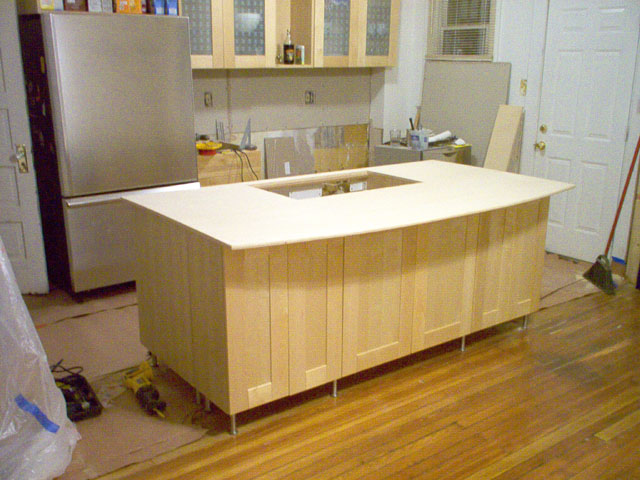
The cabinets have been assembled for the island |
 |
3/22/2004
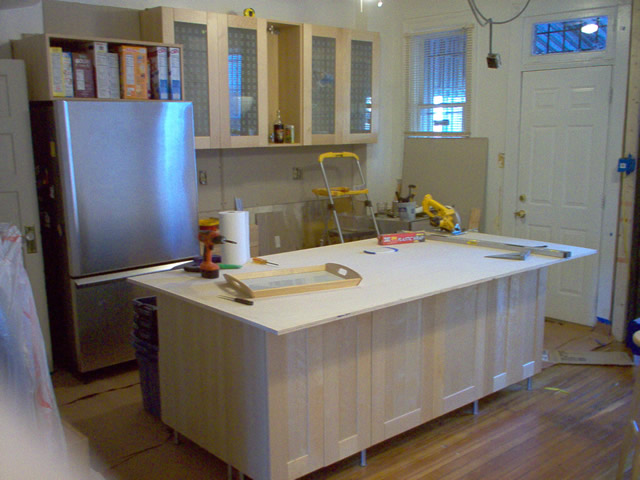
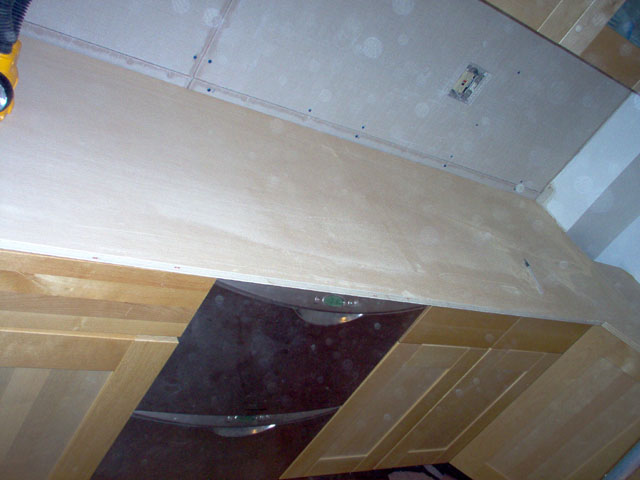
All of the doors on the dining room side of the island have been installed and the top has been placed on. The countertop still needs to be trimmed, edged, and sealed |
 |
3/23/2004
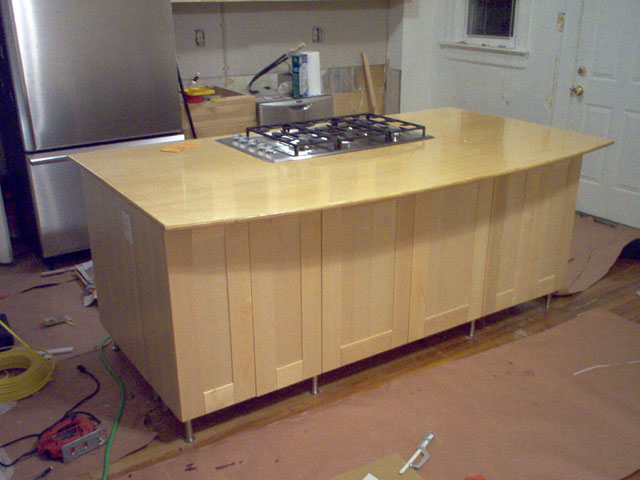
The counter top has been cut down to size, and the edges routered. A hole has been cut in the top for the cooktop to be placed into. Next I need to sand, and coat with Spar Varnish. |
 |
3/28/2004
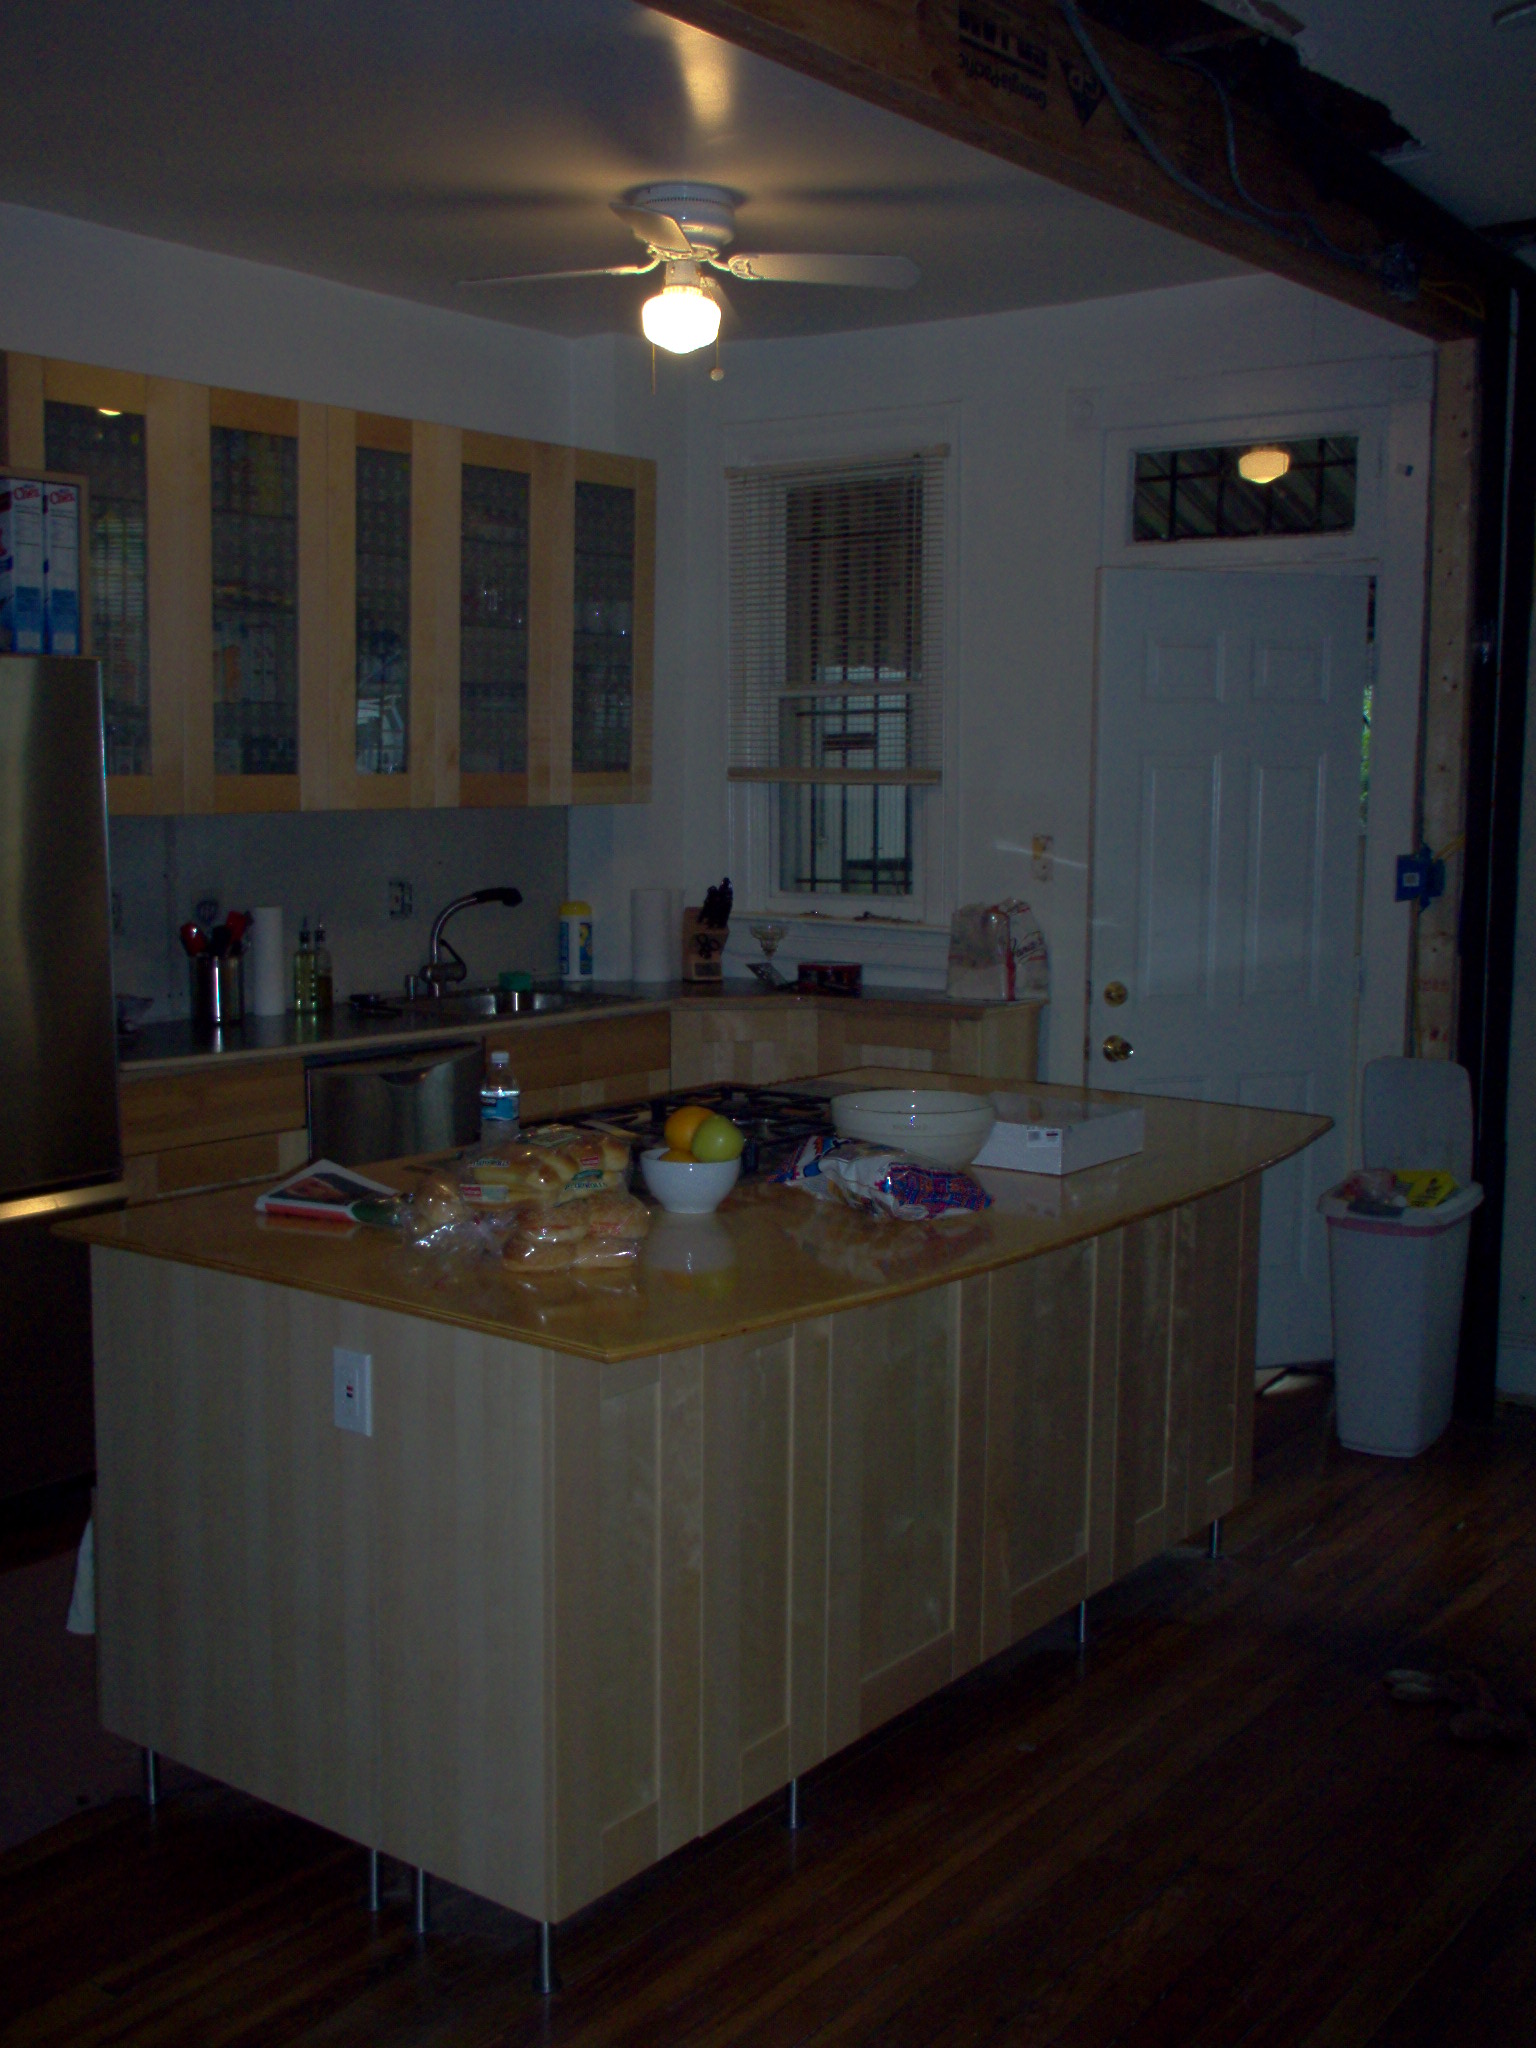
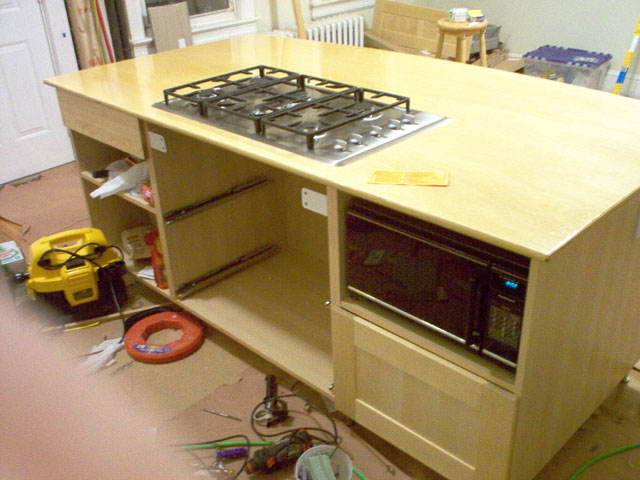
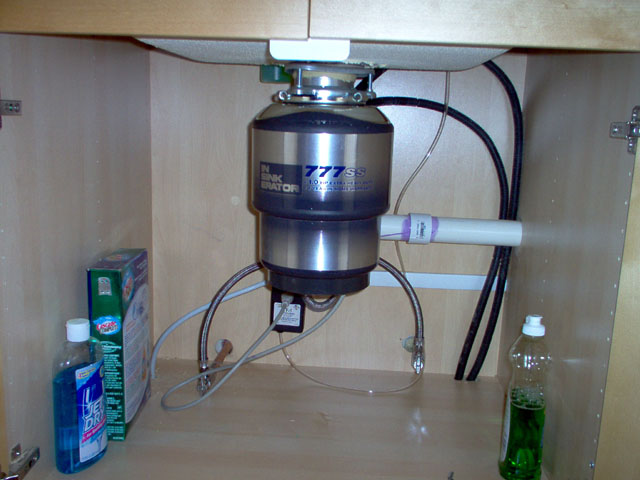
The counter top has been finished, gas and electricity run, and cooktop installed. |
 |
3/28/2004
|
 |
4/17/2004
|
 |
4/17/2004
|
 |
4/18/2004
|
 |
4/19/2004
|
 |
4/20/2004
|
 |
4/21/2004
|
 |
4/21/2004
|
 |
|
 |
|
 |
|
 |
|
 |
|
 |
|
 |
|
 |
|
 |
|
 |
|
 |
|
 |
|
 |
|
 |
|
 |
|
 |
5/16/2004
|
 |
5/16/2004
|
 |
6/1/2004
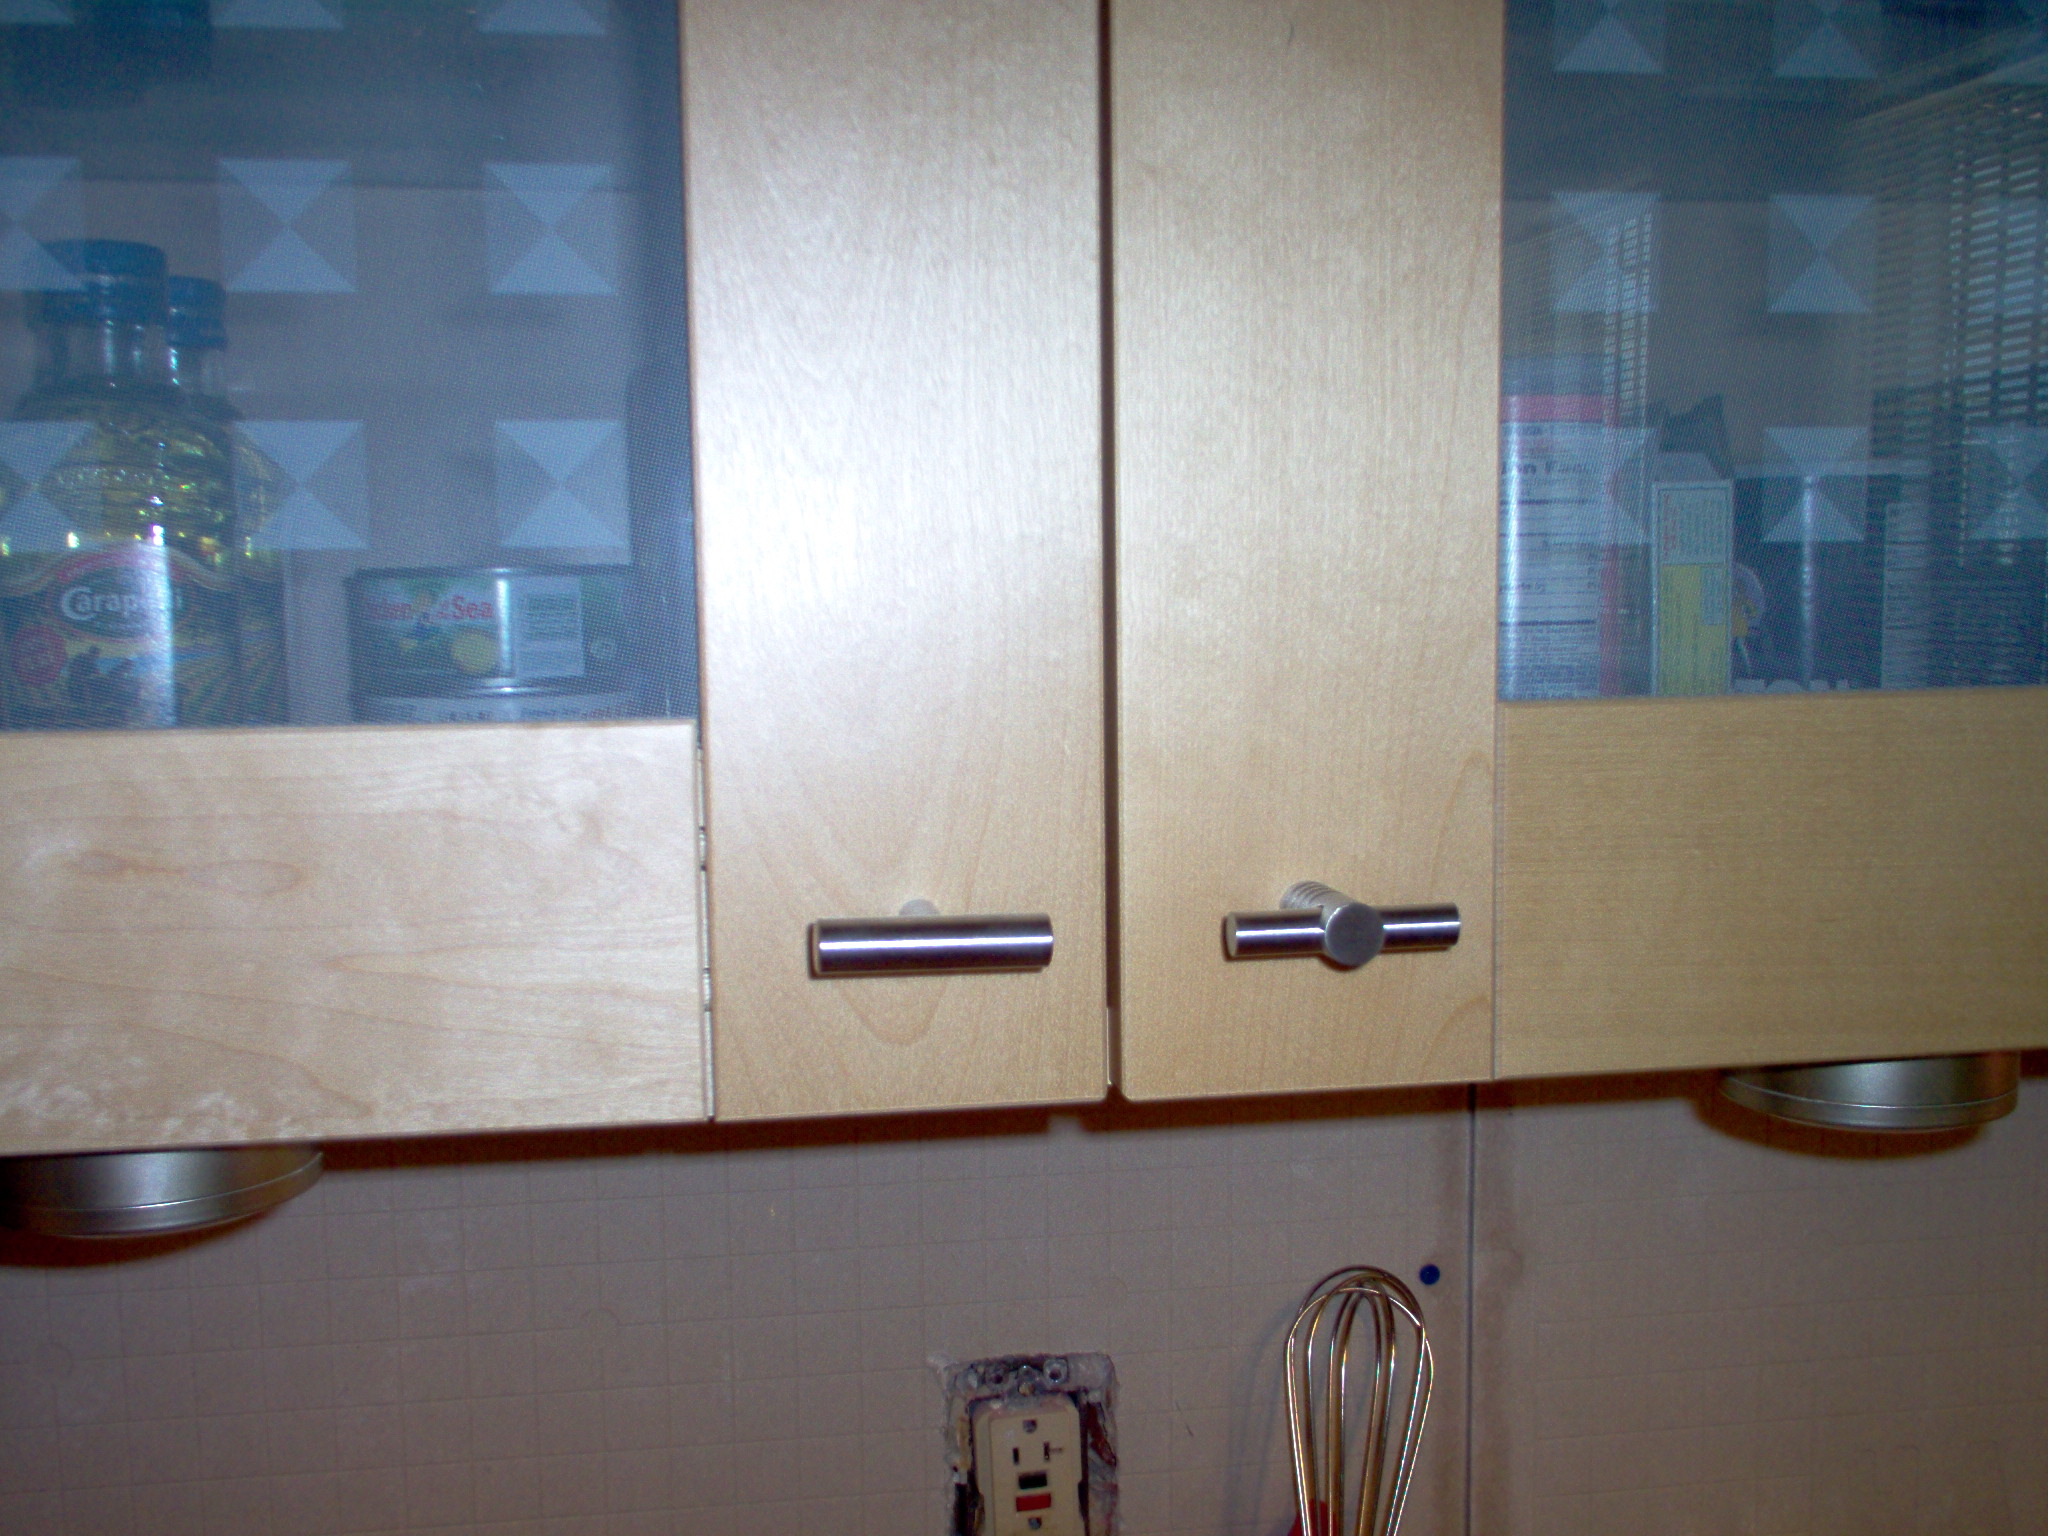
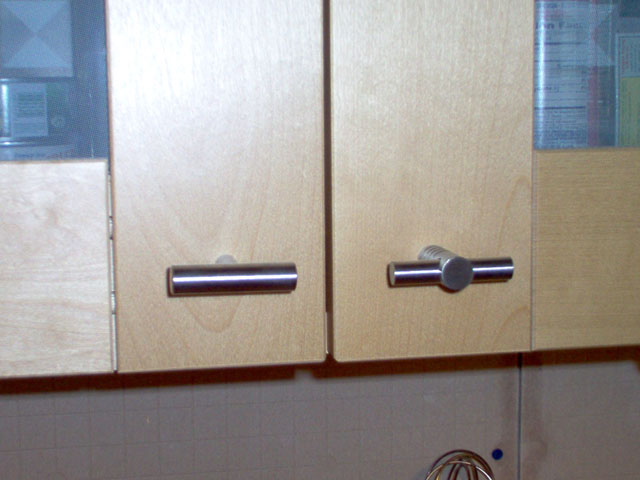
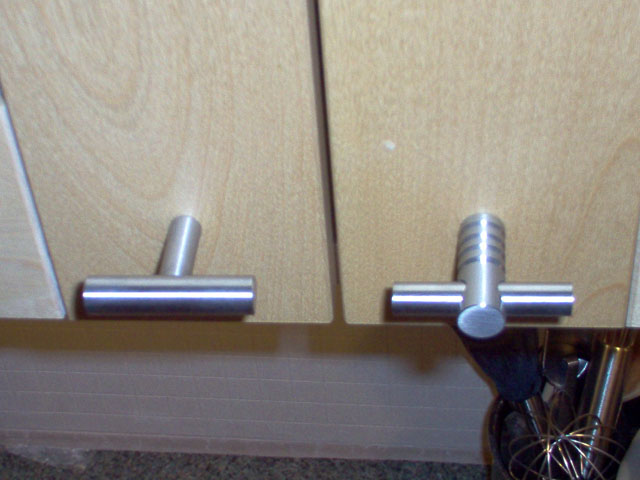
Knob choices. Left or right? |
 |
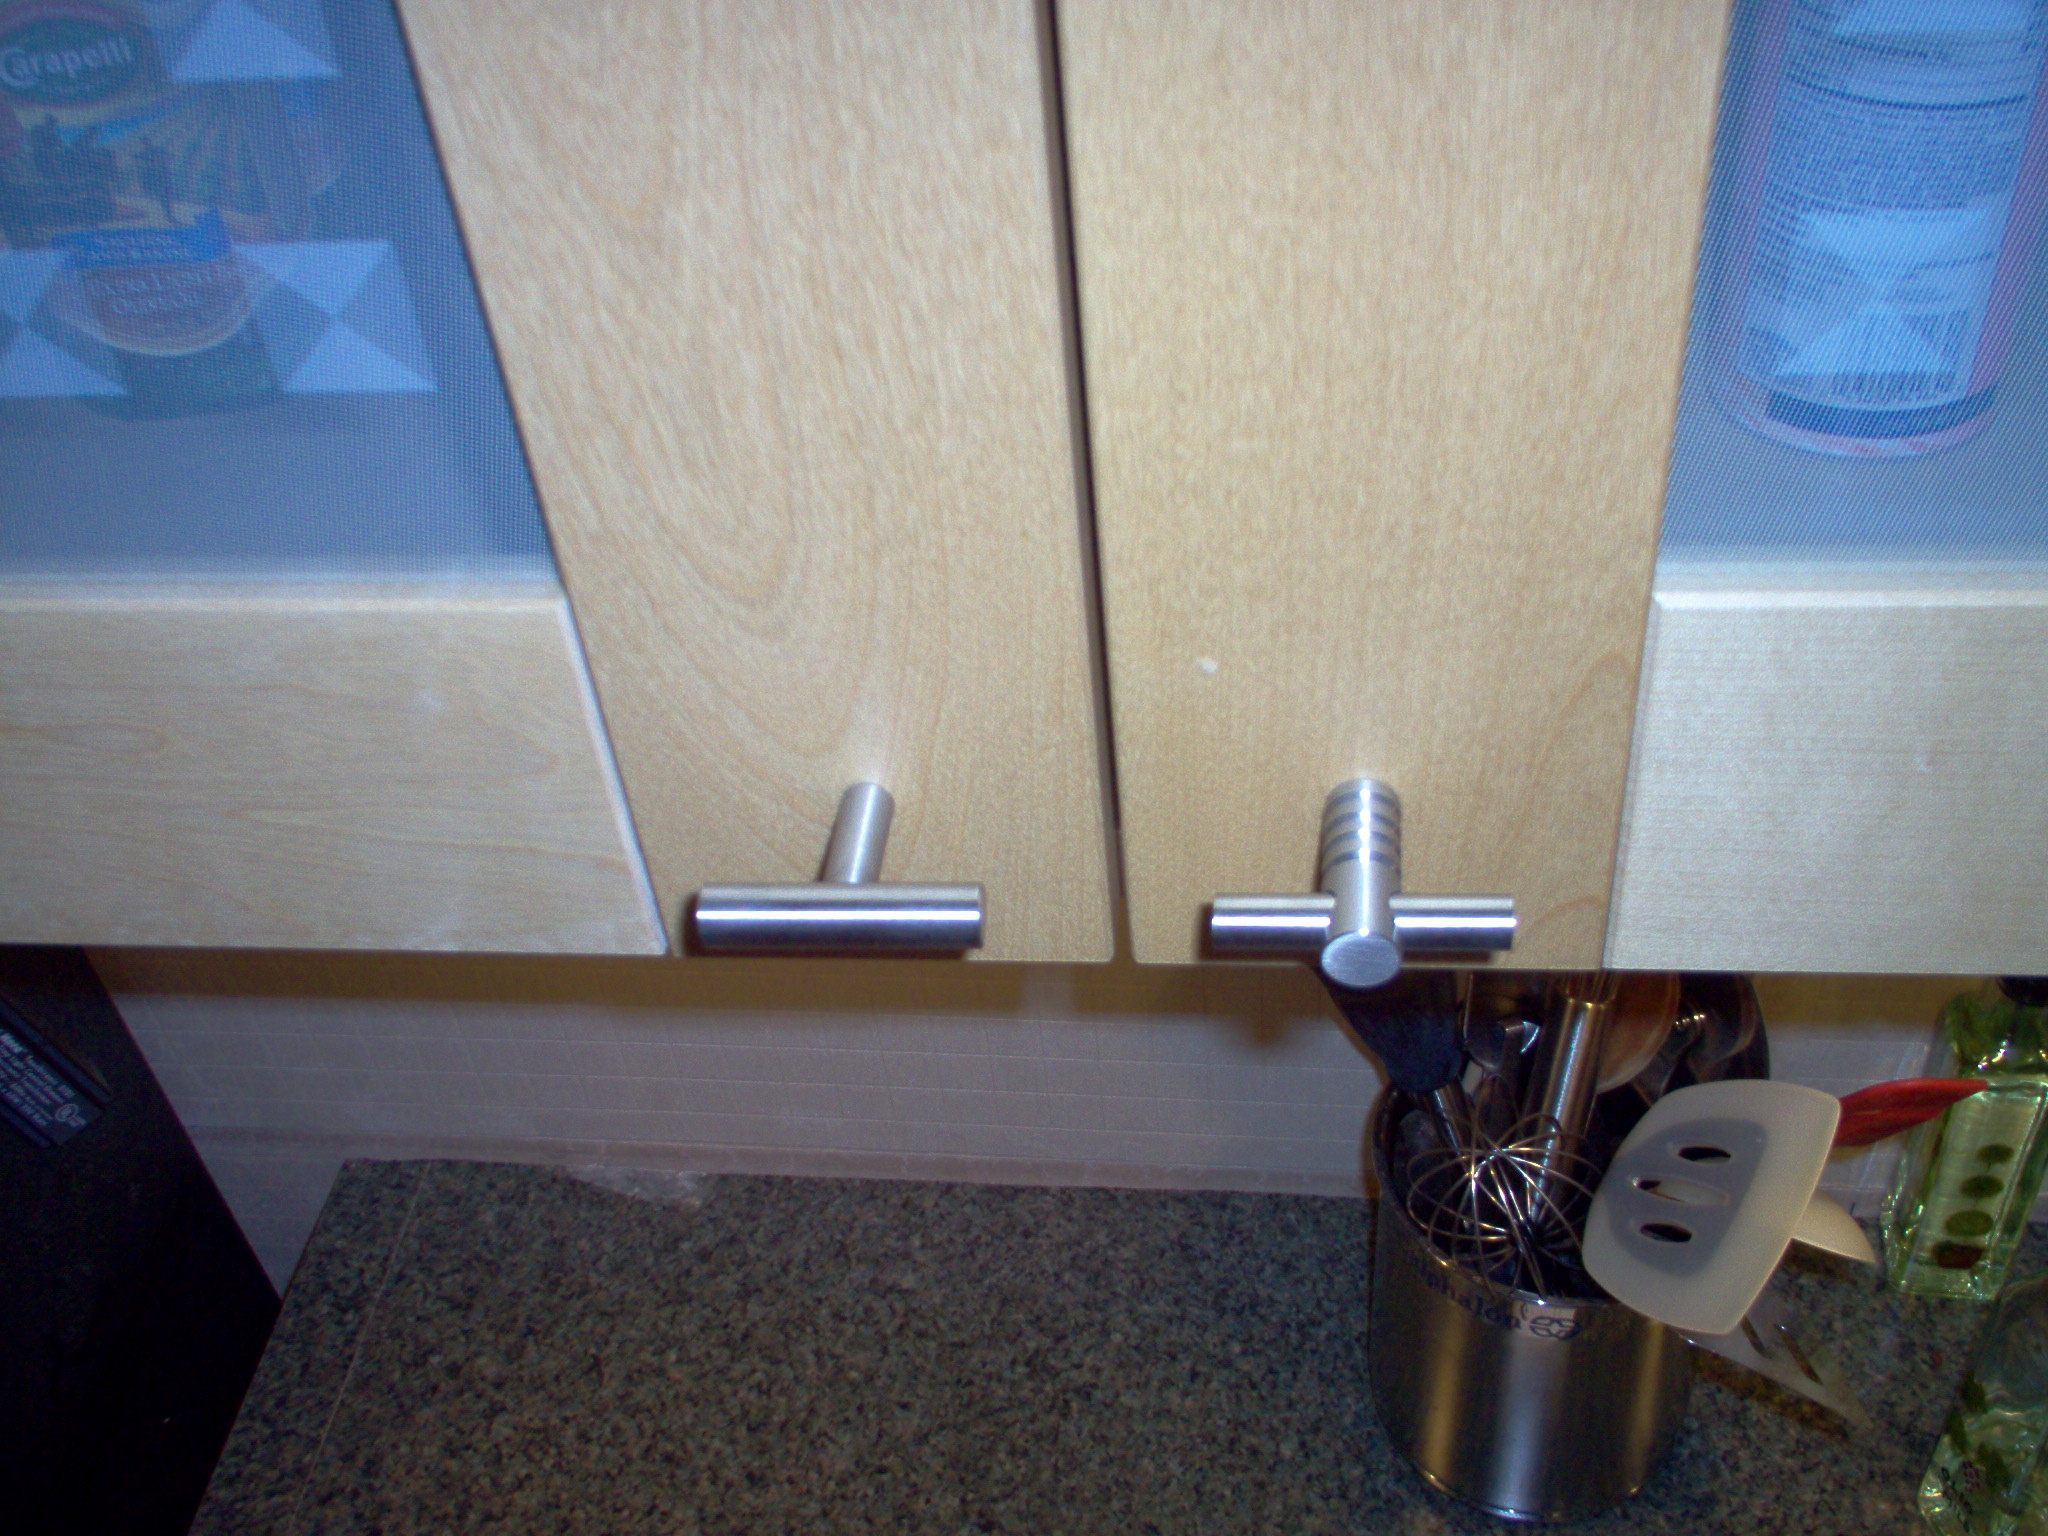
6/1/2004
Knob choices. Left or right? |
 |
6/1/2004
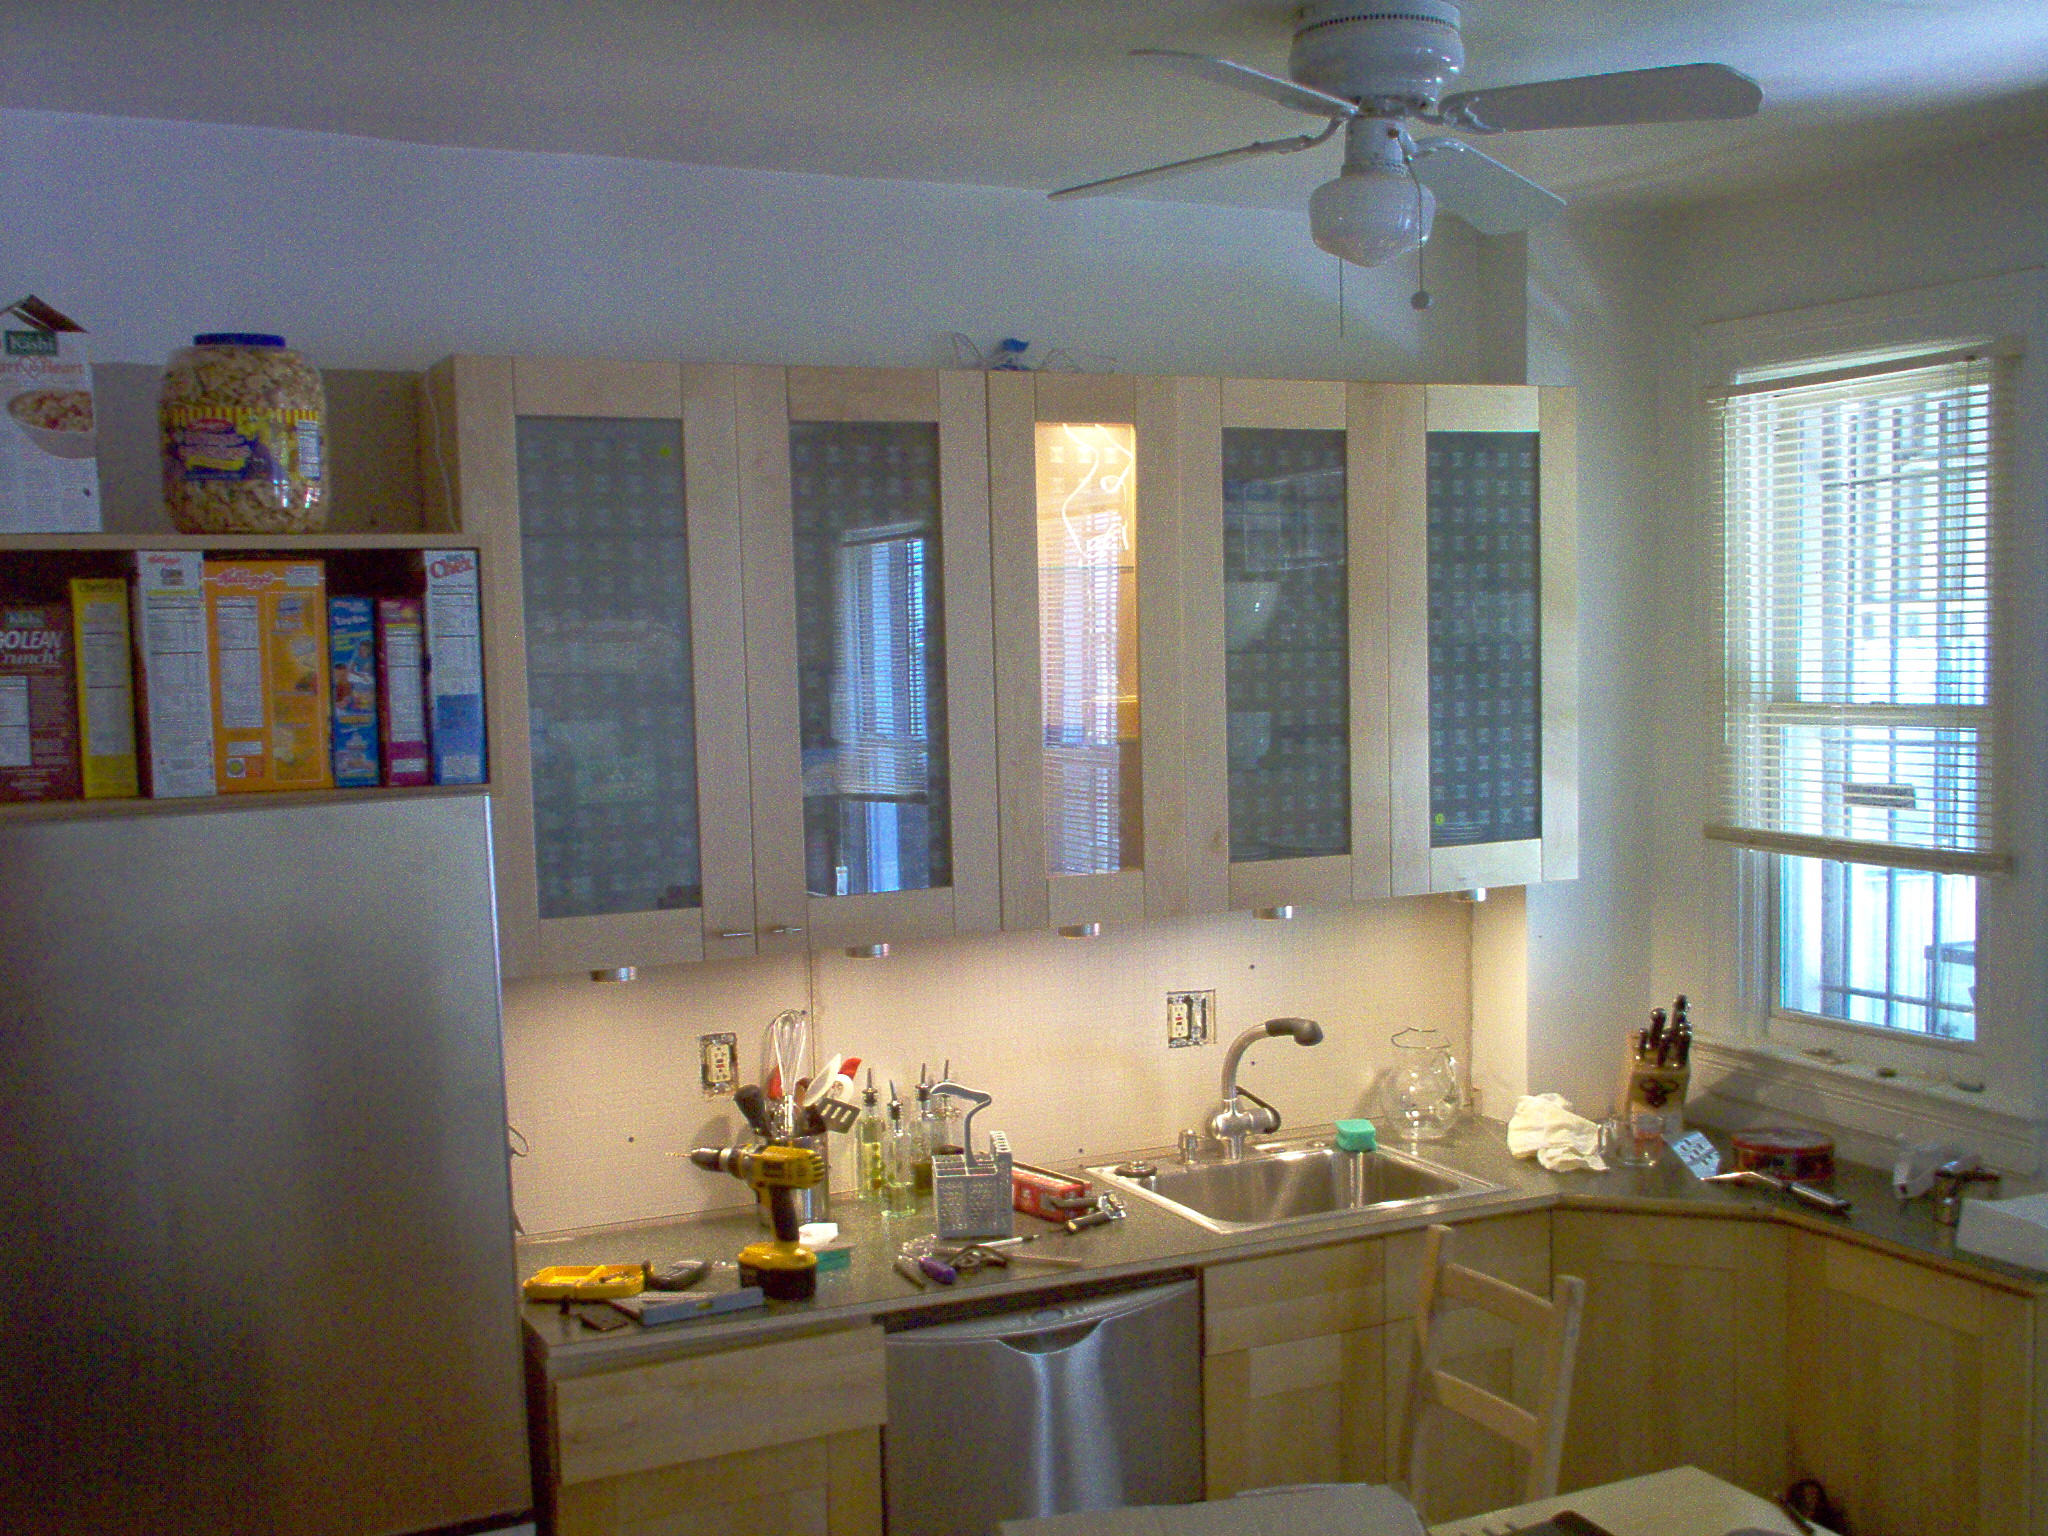
Test of putting a light into a glass front cabinet |
 |
9/6/2004
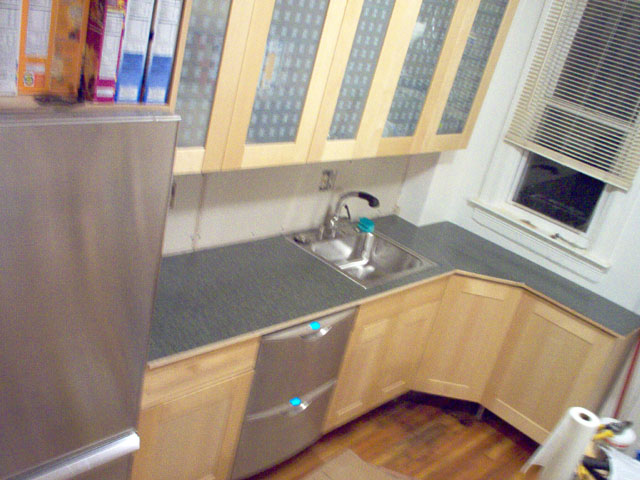
Tile has been grouted and pendant lighting temporarily installed. |
 |